Qt 3D: Simple QML Example
A QML application that demonstrates how to render a scene in Qt 3D.
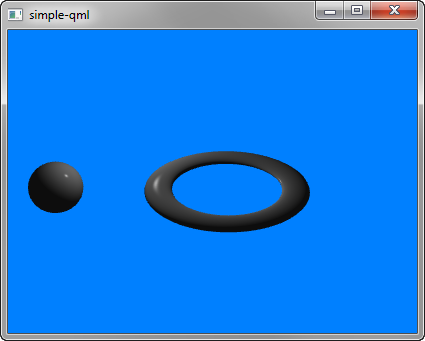
Simple demonstrates how to render a scene in Qt 3D.
Running the Example
To run the example from Qt Creator, open the Welcome mode and select the example from Examples. For more information, visit Building and Running an Example.
Setting Up the Scene
We set up the entire scene in the main.qml file.
To be able to use the types in the Q3D and Q3D Render modules, we must import the modules:
import Qt3D.Core 2.0
import Qt3D.Render 2.0
The first entities we create are a Camera, which represents the camera used for the final rendering, and a camera controller, which allows us to control this camera using the keyboard or the mouse:
    Camera {
        id: camera
        projectionType: CameraLens.PerspectiveProjection
        fieldOfView: 45
        aspectRatio: 16/9
        nearPlane : 0.1
        farPlane : 1000.0
        position: Qt.vector3d( 0.0, 0.0, -40.0 )
        upVector: Qt.vector3d( 0.0, 1.0, 0.0 )
        viewCenter: Qt.vector3d( 0.0, 0.0, 0.0 )
    }

    OrbitCameraController {
        camera: camera
    }
A RenderSettings entity specifies a ForwardRenderer as the active framegraph:
    components: [
        RenderSettings {
            activeFrameGraph: ForwardRenderer {
                clearColor: Qt.rgba(0, 0.5, 1, 1)
                camera: camera
                showDebugOverlay: true
            }
        },
The event source is set by the Qt3DQuickWindow:
InputSettings { }© 2024 The Qt Company Ltd. Documentation contributions included herein are the copyrights of their respective owners. The documentation provided herein is licensed under the terms of the GNU Free Documentation License version 1.3 as published by the Free Software Foundation. Qt and respective logos are trademarks of The Qt Company Ltd. in Finland and/or other countries worldwide. All other trademarks are property of their respective owners.
