Qt Quick 3D - HelloCube Example
Demonstrates how to render 2D and 3D objects together in Qt Quick 3D.
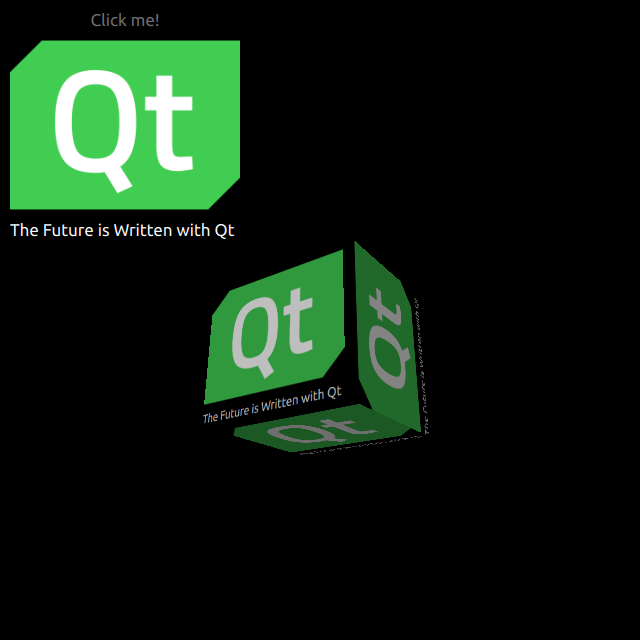
HelloCube demonstrates how to render a 3D cube with 2D items in Qt Quick 3D.
Draw 2D Items
We set up the entire scene in the main.qml file.
To be able to use the types in the QtQuick3D module, we must import it:
import QtQuick3DWe define simple QtQuick Items with an Image and a Text on a Rectangle.
Image {
    anchors.fill: parent
    source: "qt_logo.png"
}
Text {
    anchors.bottom: parent.bottom
    anchors.left: parent.left
    color: "white"
    font.pixelSize: 17
    text: qsTr("The Future is Written with Qt")
}
This simple rectangle has two animations for flipping vertically.
transform: Rotation {
    id: rotation
    origin.x: qt_logo.width / 2
    origin.y: qt_logo.height / 2
    axis { x: 1; y: 0; z: 0 }
}

PropertyAnimation {
    id: flip1
    target: rotation
    property: "angle"
    duration: 600
    to: 180
    from: 0
}
PropertyAnimation {
    id: flip2
    target: rotation
    property: "angle"
    duration: 600
    to: 360
    from: 180
}
Draw a 3D Cube
Drawing a cube is very simple. After defining a Camera, and a Light, we make a cube with a built-in Model. In this example, we render the previous 2D Rectangle on this cube surface as a diffuse Texture. In our Rectangle, we set layer.enabled to true.
layer.enabled: trueWhen enabled, this property makes the 2D item render into a offscreen surface, which we then use as a texture for our cube.
id: cube
source: "#Cube"
materials: PrincipledMaterial {
    baseColorMap: Texture {
        sourceItem: qt_logo
    }
}
eulerRotation.y: 90© 2026 The Qt Company Ltd. Documentation contributions included herein are the copyrights of their respective owners. The documentation provided herein is licensed under the terms of the GNU Free Documentation License version 1.3 as published by the Free Software Foundation. Qt and respective logos are trademarks of The Qt Company Ltd. in Finland and/or other countries worldwide. All other trademarks are property of their respective owners.
