Qt Quick 3D - Layers Example
Demonstrates the use of layers in QtQuick3D.
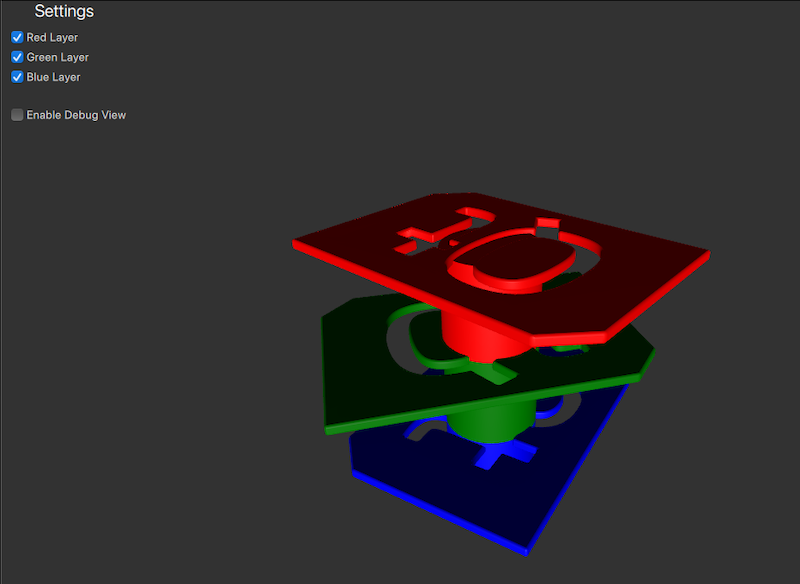
In this example the different colored logo models are placed in different layers. From the settings panel users can control the visibility of each layer by toggling the checkboxes.
Preparing the Scene layers
Layers
For convenience we alias the Layer enums type to something that makes it easier to identify.
readonly property int redModels: ContentLayer.Layer1
readonly property int greenModels: ContentLayer.Layer2
readonly property int blueModels: ContentLayer.Layer3
Camera
Since we want to filter the camera view based on the layers, we need to set the layers the camera should render. We do this by setting the layers property of the camera to one or more layers. The camera will then only render those objects that are in the layers specified. By default the camera will render nodes from all layers.
To be able to select the active layers we create a cameraFilter property and bind it to the camera's layers property.
property int cameraFilter: ContentLayer.LayerAll

camera: PerspectiveCamera {
    layers: v3d.cameraFilter
    position: Qt.vector3d(0, 400, 500)
    eulerRotation.x: -30
    clipFar: 2000
}
When the checkboxes in the settings panel are toggled, the cameraFilter property will be updated to include or exclude the respective layers. This way, the camera will only render the objects that are in the layers specified by the cameraFilter.
CheckBox {
    id: checkBoxRedLayer
    text: qsTr("Red Layer")
    checked: true
    onCheckedChanged: {
        v3d.cameraFilter = checked ? v3d.cameraFilter | v3d.redModels : v3d.cameraFilter & ~v3d.redModels;
    }
}
Models
The three different colored models now needs to be assigned to the respective layers. As with the camera, we can use the layers property of the model to assign it to a layer. The red logo model is assigned to the redLayer, the green to the greenLayer, and the blue to the blueLayer.
Node {
    position: Qt.vector3d(0, 200, 0)
    Model {
        source: "qtlogo.mesh"
        layers: v3d.redModels
        scale: Qt.vector3d(5000, 5000, 5000)
        materials:[ PrincipledMaterial {
            baseColor: "red"
            roughness: 0.5
        } ]

        NumberAnimation on eulerRotation.y {
            from: 0
            to: 360
            duration: 15000
            loops: Animation.Infinite
        }
    }

    Model {
        position: Qt.vector3d(0, -50, 0)
        source: "#Cylinder"
        materials:[ PrincipledMaterial {
            baseColor: "red"
            roughness: 0.5
        } ]
    }
}

Node {
    position: Qt.vector3d(0, 100, 0)
    Model {
        source: "qtlogo.mesh"
        layers: v3d.greenModels
        scale: Qt.vector3d(5000, 5000, 5000)
        materials:[ PrincipledMaterial {
            baseColor: "green"
            roughness: 0.5
        } ]

        NumberAnimation on eulerRotation.y {
            from: 0
            to: 360
            duration: 20000
            loops: Animation.Infinite
        }
    }
    Model {
        position: Qt.vector3d(0, -50, 0)
        source: "#Cylinder"
        materials:[ PrincipledMaterial {
            baseColor: "green"
            roughness: 0.5
        } ]
    }
}
Node {
    Model {
        source: "qtlogo.mesh"
        layers: v3d.blueModels
        scale: Qt.vector3d(5000, 5000, 5000)
        materials:[ PrincipledMaterial {
            baseColor: "blue"
            roughness: 0.5
        } ]

        NumberAnimation on eulerRotation.y {
            from: 0
            to: 360
            duration: 12500
            loops: Animation.Infinite
        }
    }
    Model {
        position: Qt.vector3d(0, -50, 0)
        source: "#Cylinder"
        materials:[ PrincipledMaterial {
            baseColor: "blue"
            roughness: 0.5
        } ]
    }
}
With the layers set up, the camera will now only render the models that are in the layers specified by the cameraFilter. The user can toggle the visibility of each layer by checking or unchecking the checkboxes in the settings panel.
© 2026 The Qt Company Ltd. Documentation contributions included herein are the copyrights of their respective owners. The documentation provided herein is licensed under the terms of the GNU Free Documentation License version 1.3 as published by the Free Software Foundation. Qt and respective logos are trademarks of The Qt Company Ltd. in Finland and/or other countries worldwide. All other trademarks are property of their respective owners.
