Graph Printing
Printing a 2D or 3D graph.
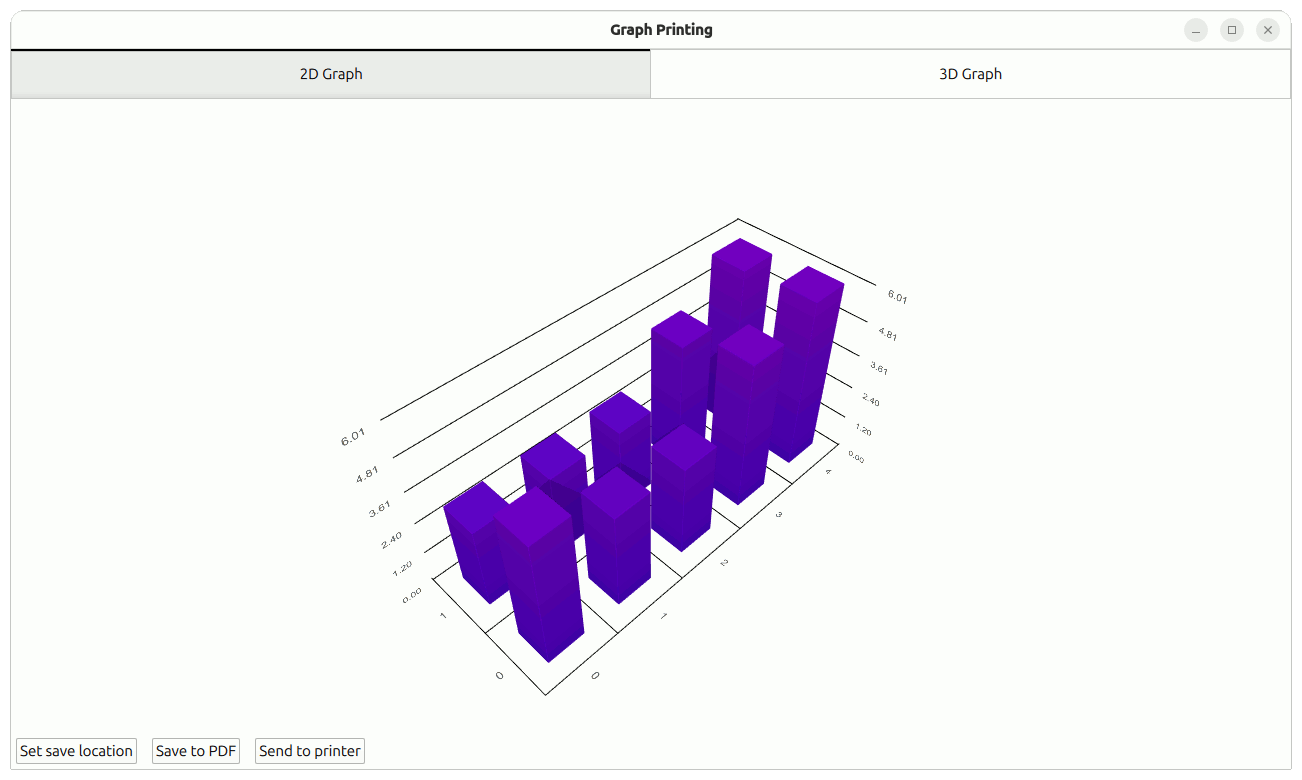
The Graph Printing example demonstrates how to print or export to PDF 2D and 3D graphs.
Running the Example
To run the example from Qt Creator, open the Welcome mode and select the example from Examples. For more information, see Qt Creator: Tutorial: Build and run.
GraphPrinter class
The printing functionality is implemented in the GraphPrinter class. The class exposes these functions:
- The
generatePDFfunction, which works as follows.- Sets up the output PDF file.
The function instantiates QPdfWriter with a "graph.pdf" file pointed in the specified folder. The function also specifies the options for the exported PDF file: title, resolution, page size, and margins.
const QFile file = QFile(path.toLocalFile() + QStringLiteral("/graph.pdf")); QPdfWriter writer(file.fileName()); writer.setResolution(90); writer.setTitle("Graph"); writer.setPageSize(QPageSize(image.size())); writer.setPageMargins(QMarginsF(0, 0, 0, 0)); writer.newPage(); - Sets up image processing.
The function creates a QPainter referring to the previously created QPdfWriter.
To ensure the graph is printed correctly, it is scaled to the painter's viewport size with the original aspect ratio
The painter's rendering hint is set to lossless image rendering. After this, the function draws the image to the PDF file.
The function returns a status message to be displayed in the application's message dialog, including the full path to the exported file.
- Sets up the output PDF file.
- The
getPrintersfunction returns a list of available printers.QStringList GraphPrinter::getPrinters() { return QPrinterInfo::availablePrinterNames(); } - The
printfunction, which works like thegeneratePDFfunction, but creates a QPainter referring a QPrinter instance:QString GraphPrinter::print(const QImage &image, const QString printerName) { QPrinterInfo printInfo = QPrinterInfo::printerInfo(printerName); if (printInfo.isNull()) return QLatin1String("%1 is not a valid printer").arg(printerName); QPrinter printer(printInfo, QPrinter::HighResolution); printer.setOutputFormat(QPrinter::NativeFormat); QPainter painter(&printer); const QImage finalImage = image.scaled(painter.viewport().size(), Qt::KeepAspectRatio); painter.setRenderHint(QPainter::LosslessImageRendering); painter.drawImage(finalImage.rect(), finalImage); return QLatin1String("Printed to %1").arg(printerName); }The function returns a status message to be displayed in the application's message dialog.
Application setup
In addition to the application setup code, the main.cpp file contains code that creates a new instance of the GraphPrinter class and makes it reachable from the QML code.
GraphPrinter graphPrinter;
viewer.rootContext()->setContextProperty("graphPrinter", &graphPrinter);
Setting up the layout and image capture
The 2D and 3D graphs are laid out in a Stacklayout. Users can navigate it with a TabBar.
TabBar {
    id: tabBar
    anchors.left: parent.left
    anchors.right: parent.right

    TabButton {
        text: "2D Graph"
        implicitHeight: 48
        icon.source: checked ? "flatten_square_fill.svg" : "flatten.svg"
        icon.height: 36
        icon.width: 36
    }

    TabButton {
        text: "3D Graph"
        implicitHeight: 48
        icon.source: checked ? "box_left_fill.svg" : "box_left.svg"
        icon.height: 36
        icon.width: 36
    }
}
Frame {
    id: tabFrame
    anchors.left: parent.left
    anchors.right: parent.right
    anchors.top: tabBar.bottom
    anchors.bottom: parent.bottom

    StackLayout {
        id: stackLayout

        anchors.fill: parent
        currentIndex: tabBar.currentIndex

        Graph2D {
            id: linegraph
        }

        Graph3D {
            id: bargraph
        }
    }
}
The FolderDialog component is used to select a folder for saving the exported file. This component has no visual representation in the application layout, but its API is accessible from the current QML file.
The  button invokes a folder dialog.
FolderDialog {
    id: dialog
    property bool folderset: false
    onAccepted: {
        folderset = true
        message.title = "Folder Set"
        message.text = "Folder set to " + selectedFolder.toString().replace(/^(file:\/{3})/, "")
        message.open()
    }
}
...
Button {
    id: setFolderButton
    ...
    onClicked: dialog.open()
}
A custom printing dialog is created for selecting a printer, and is triggered with the  button. The Dialog retrieves the list of available printers and displays them in a list view.
Dialog {
    id: printerDialog
    anchors.centerIn: parent
    contentHeight: printerListView.height
    contentWidth: printerListView.width

    title: qsTr("Available Printers")
    modal: true

    onOpened: {
        printerModel.clear()
        var printers = graphPrinter.getPrinters()
        printers.forEach((x, i) => printerModel.append({
                                                           "name": x
                                                       }))
    }
...
contentItem: Rectangle {
    id: printerItem
    height: printerListView.height
    width: printerListView.width
    color: mainView.item.theme.plotAreaBackgroundColor

    ListView {
        id: printerListView
        height: 100
        width: 200
        clip: true

        model: printerModel
        delegate: printerDelegate
        highlight: Rectangle {
            color: mainView.item.theme.grid.subColor
        }
    }
}
The  button triggers the PDF export, if a folder has been already selected.
When either PDF export or printing is triggered, the following code is executed:
- Capture an image using the
grabToImagemethod. The current graph is the Stacklayout's item at the current index. - In the
grabToImageparameters, we specify the callback as thegeneratePDForprintfunction in theGraphPrinterclass.PDF export:
onPressed: {
    if (!dialog.folderset) {
        message.title = "No Folder Set"
        message.text = "Please select folder first"
        message.open()
    } else {
        mainView.prepareForPrint()
        mainView.item.grabToImage(function (result) {
            message.title = "Save PDF"
            message.text = "PDF saved to " + graphPrinter.generatePDF(
                        dialog.currentFolder, result.image)
            message.open()
        }, mainView.outputsize)
    }
}

onReleased: {
    mainView.cleanAfterPrint()
}
Print:
onAccepted: {
    var selectedPrinter = printerModel.get(printerListView.currentIndex)
    mainView.prepareForPrint()
    mainView.item.grabToImage(function (result) {
        message.title = "Print"
        message.text = graphPrinter.print(result.image,
                                          selectedPrinter.name)
        message.open()
    }, mainView.outputsize)
}

onClosed: {
    mainView.cleanAfterPrint()
}
For the size, the code makes the image render at 4x the actual resolution. For 3D graphs, the item must also be expanded for the duration of printing:
function prepareForPrint() {
    if (stackLayout.currentIndex === 1) {
        var newsize = Qt.size(bargraph.width * 4, bargraph.height * 4)

        // check that we do not exceed maximum texture size
        if (newsize.width * Screen.devicePixelRatio > graphPrinter.maxTextureSize() ) {
            // scale to 25% under max texture size to be on the safe side; some GPUs seem
            // to glitch when using the abosulute max
            var ratio = (newsize.width * Screen.devicePixelRatio * 1.25)
                    / graphPrinter.maxTextureSize()
            newsize.width /= ratio
            newsize.height /= ratio
        }
        outputsize.width = Math.round(newsize.width)
        outputsize.height = Math.round(newsize.height)

        // resize the bar graph to match the PDF output size
        item.width = outputsize.width
        item.height = outputsize.height
    } else {
        outputsize = Qt.size(linegraph.width * 4, linegraph.height * 4)
    }
}

function cleanAfterPrint() {
    if (stackLayout.currentIndex === 1) {
        // resize the bar graph back to the actual visual size
        item.width = stackLayout.width
        item.height = stackLayout.height
    }
}
© 2026 The Qt Company Ltd. Documentation contributions included herein are the copyrights of their respective owners. The documentation provided herein is licensed under the terms of the GNU Free Documentation License version 1.3 as published by the Free Software Foundation. Qt and respective logos are trademarks of The Qt Company Ltd. in Finland and/or other countries worldwide. All other trademarks are property of their respective owners.
