Writing your first application from scratch
- Open an existing Android Studio project or create a new one.
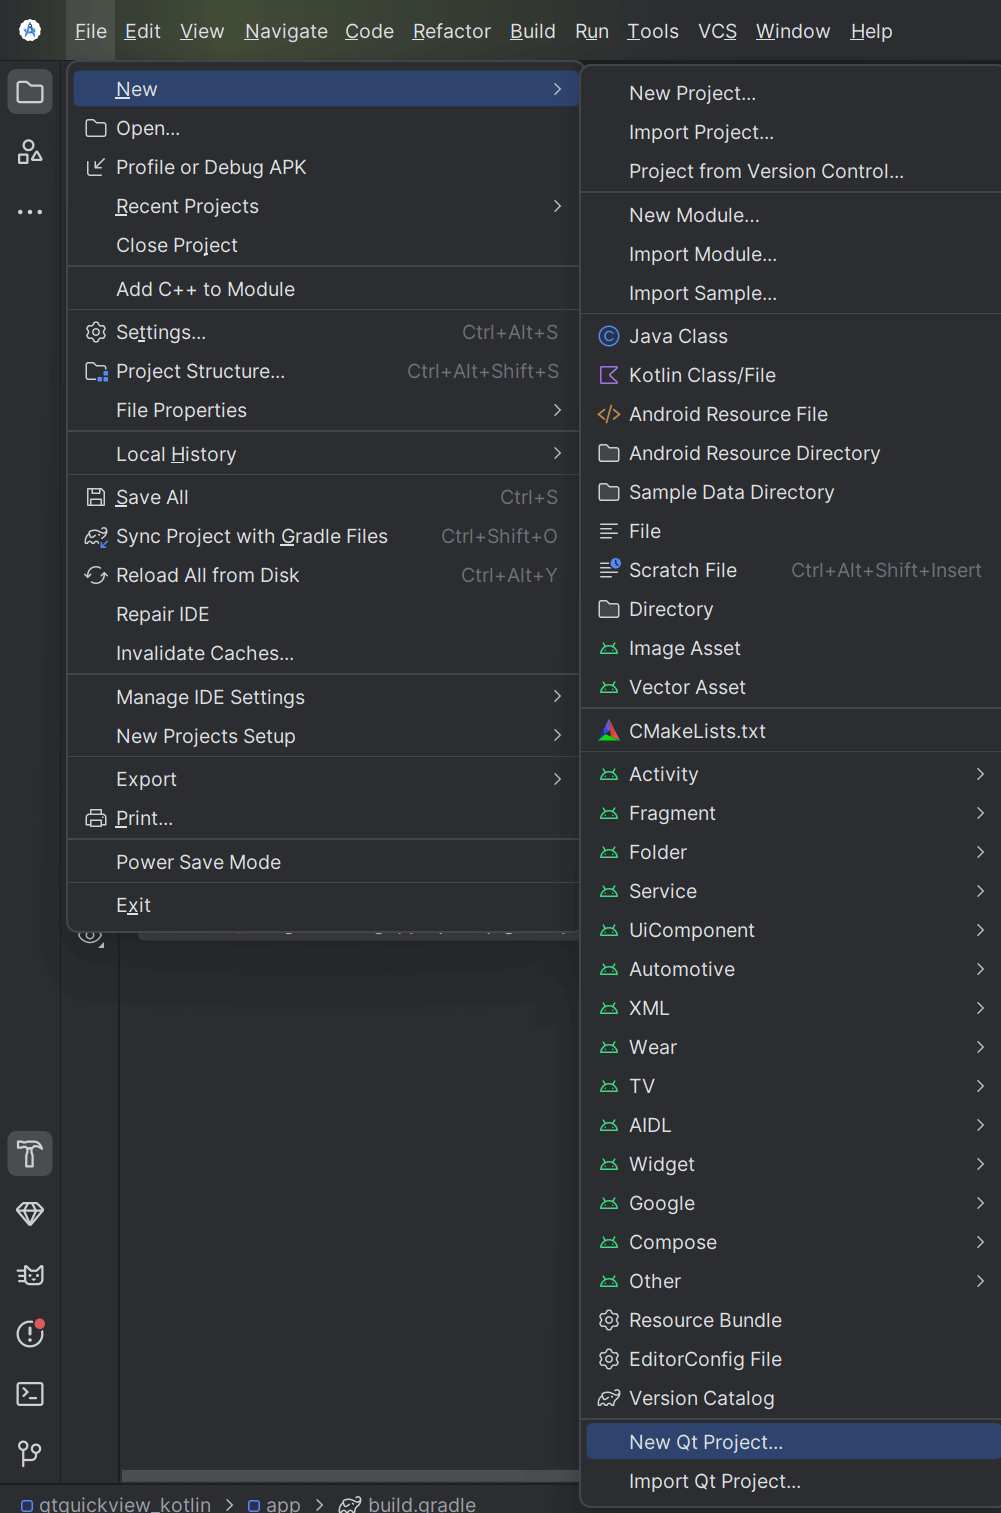
- From Android Studio top-left select File -> New -> New Qt Project.
- Set the name for the project, select the projects folder, provide the
Qt Path, and select the minimumQt version. In theApply Qt Gradle Pluginsection, leave it as default to automatically apply the latest version of the Qt Gradle Plugin to theapp/build.gradle(.kts)file. Select No if you want to do it manually, for example using Android Version Catalogs. Then, select OK.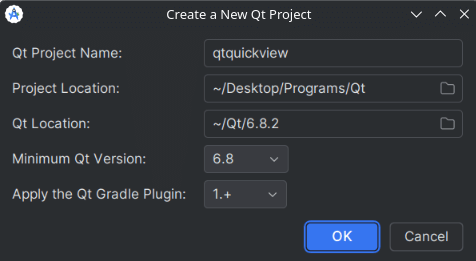
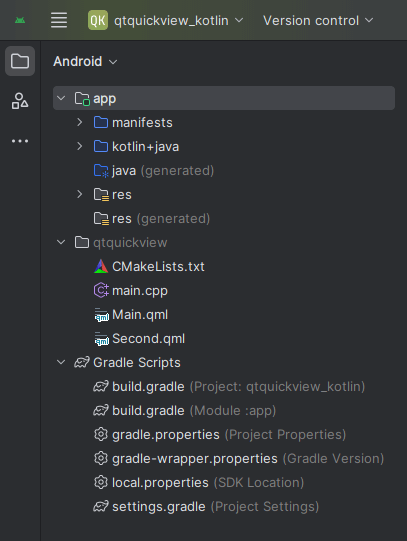
This creates four initial files for the project in a folder with the name you specified for your project.
- The
CMakeLists.txtproject file. - The
main.cppfile. - The
Main.qmlfile. - A
.gitignorefile, to ignore any files within a futurebuilddirectory.
- The
- Your project will automatically sync, and your QML project will appear in your Android project tree.
- You can change more settings by navigating to File -> Settings -> Build, Execution, Deployment -> Qt. These fields (except
Qt Path) are optional and are used for fine tuning your build.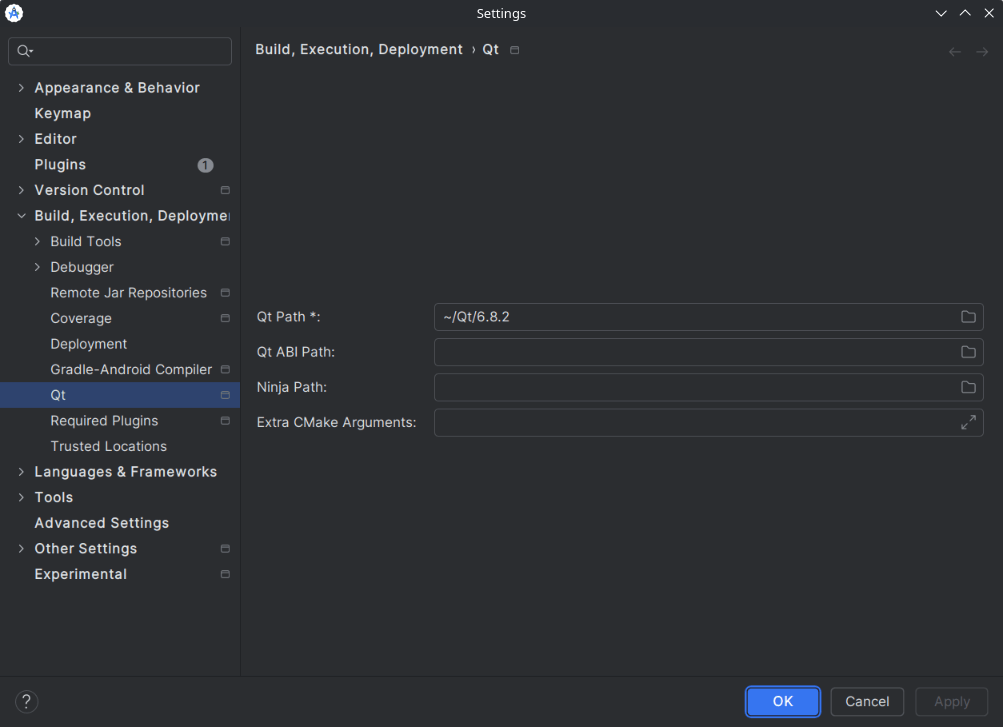
- Start writing your first Qt QML application!
If you are a returning user or just getting started with QML, the QML Reference has what you need.
Integrating QML in an Android application
See the Qt Quick for Android overview for information on embedding QML in Android applications.
© 2026 The Qt Company Ltd. Documentation contributions included herein are the copyrights of their respective owners. The documentation provided herein is licensed under the terms of the GNU Free Documentation License version 1.3 as published by the Free Software Foundation. Qt and respective logos are trademarks of The Qt Company Ltd. in Finland and/or other countries worldwide. All other trademarks are property of their respective owners.
