
Getting Started with Qt for Android
This tutorial describes how to use Qt Creator to develop a Qt Quick application for Android devices.
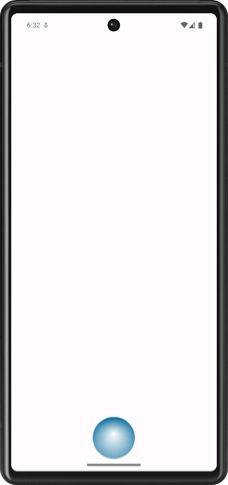
You develop a Qt Quick application that accelerates an SVG (Scalable Vector Graphics) image based on changing accelerometer values.
Set up the development environment
To get started with Qt for Android:
- Download and install Qt. To do this, follow the instructions on the Get and Install Qt page.
- Install all the necessary tools and configure the development environment as explained in Qt for Android Prerequisites.
Create the project
- Open Qt Creator. Go to File > New Project > Application (Qt) > Qt Quick Application.
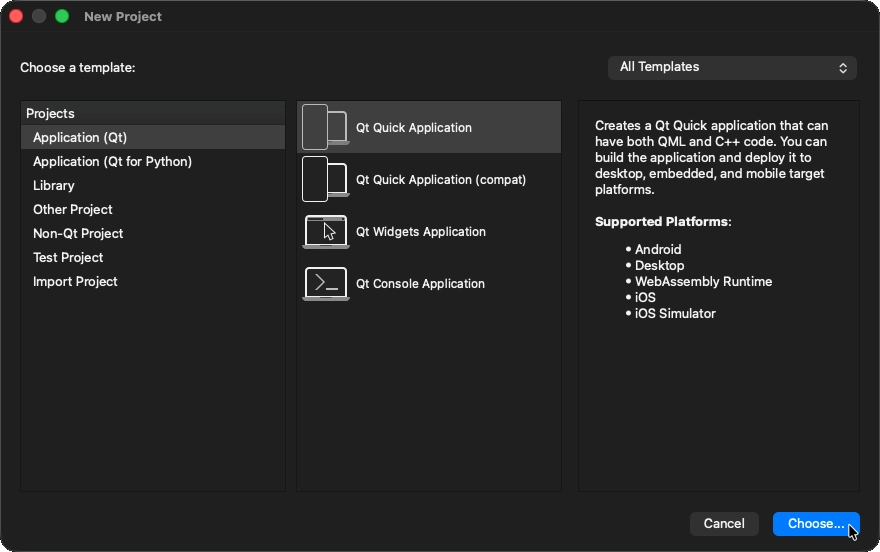
- Select Choose... to open the Project Location dialog.
- In Name, enter a name for the application.
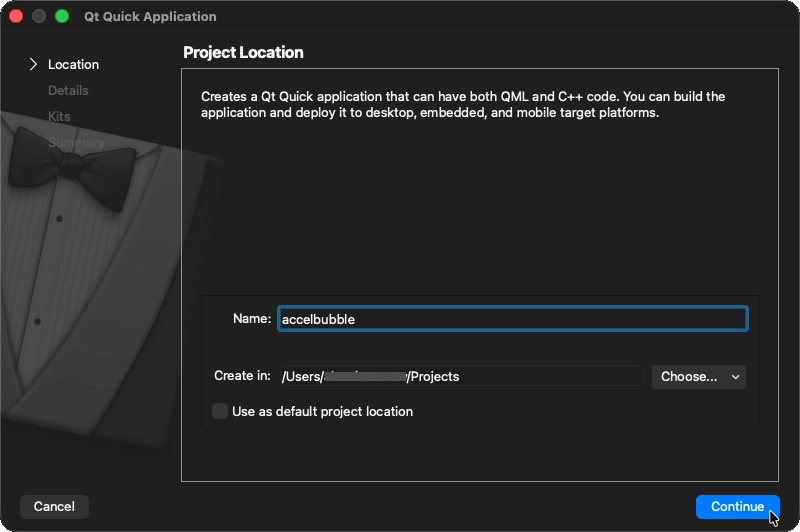
- In Create in, enter the path for the project files. You can move project folders later without problems.
- Select Next (or Continue on macOS) to open the Define Project Details dialog.
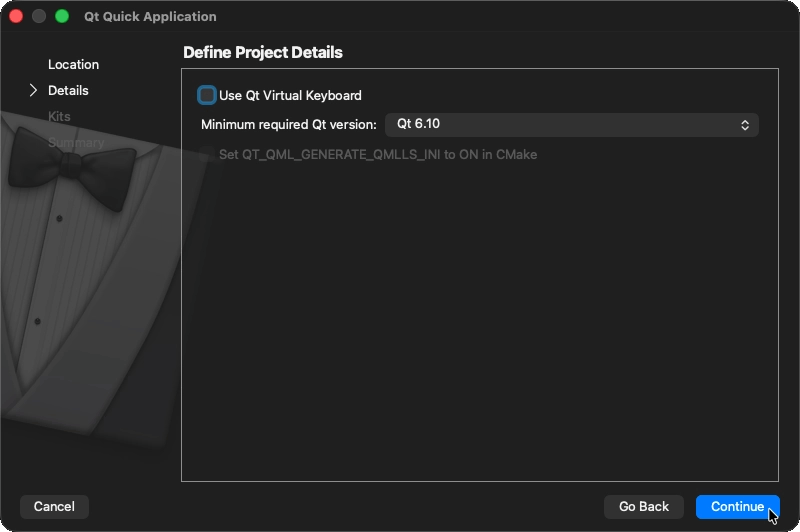
- Select Next (or Continue on macOS) to open the Kit Selection dialog.
- Select kits for the platforms that you want to build the application for.
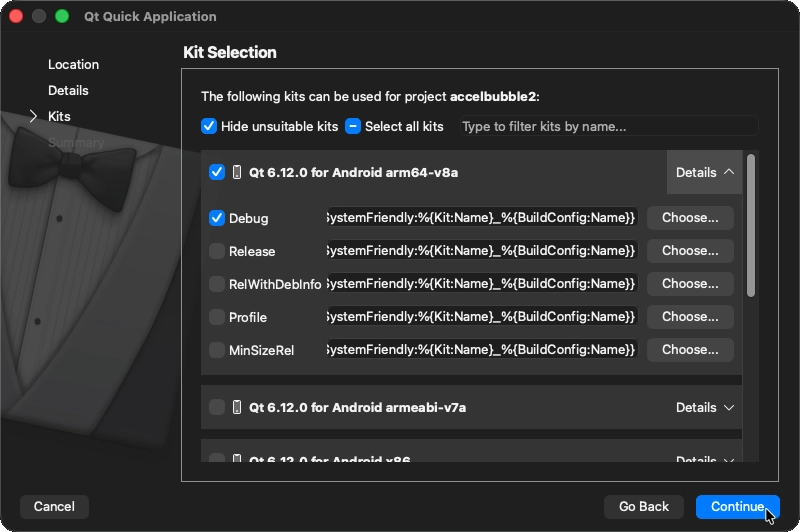
Note: The list shows kits that you specify in Preferences > Kits. For more information, see Add kits and Managing kits.
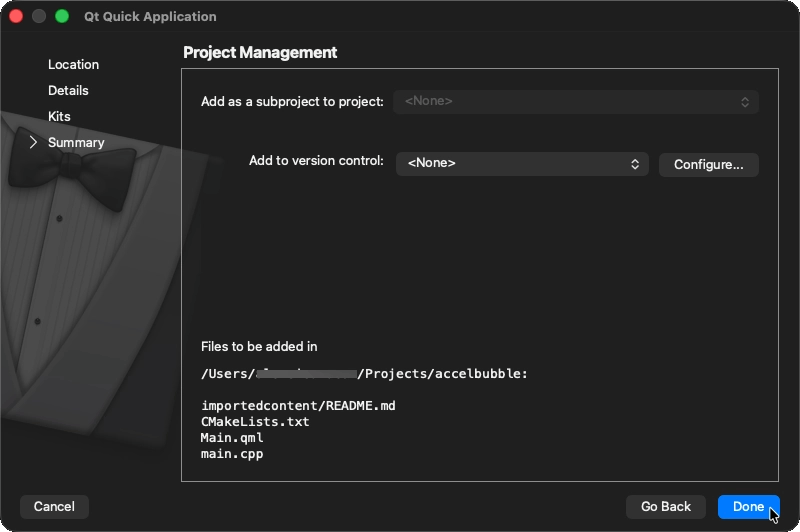
- Select Next (or Continue on macOS) to open the Project Management dialog.
- Review the project settings, and select Finish (or Done on macOS) to create the project.
Add images as resources
The main view of the application displays an SVG bubble image that moves around the screen when you tilt the device.
For the image to appear when you run the application, you must specify it as a resource in the RESOURCES argument of the qt_add_qml_module() method in the CMakeLists.txt file that the wizard created for you:
qt_add_qml_module(appaccelbubble
    URI accelbubble
    QML_FILES Main.qml
    RESOURCES Bluebubble.svg
)
Create the Accelbubble main view
- In the Projects view, select
Main.qml. In theMain.qmlfile, replace the content with the following code:import QtQuick import QtQuick.Controls.Material ApplicationWindow { id: mainWindow width: 320 height: 480 visible: true title: qsTr("Accelerate Bubble") Image { id: bubble source: "Bluebubble.svg" smooth: true } }This code changes the default Window properties and adds the recently added image to the view. You can use any other image or component instead.
- Add custom properties to position the image in respect to the width and height of the main window:
import QtQuick import QtQuick.Controls.Material ApplicationWindow { id: mainWindow width: 320 height: 480 visible: true title: qsTr("Accelerate Bubble") Image { id: bubble source: "Bluebubble.svg" smooth: true property real centerX: mainWindow.contentItem.width / 2 property real centerY: mainWindow.contentItem.height / 2 property real bubbleCenter: bubble.width / 2 x: centerX - bubbleCenter y: centerY - bubbleCenter } } - Add the following import statement:
import QtSensorsIt is required because we want to move the bubble based on Accelerometer sensor values.
- Add the Accelerometer component with the necessary properties:
import QtQuick import QtQuick.Controls.Material import QtSensors ApplicationWindow { id: mainWindow ... Accelerometer { id: accel dataRate: 100 active: true } ... - Add the following JavaScript functions that calculate the x and y position of the bubble based on the current Accelerometer values:
import QtQuick import QtQuick.Controls.Material import QtSensors ApplicationWindow { id: mainWindow ... Accelerometer { id: accel ... } function calcPitch(x,y,z) { return -Math.atan2(y, Math.hypot(x, z)) * mainWindow.radians_to_degrees; } function calcRoll(x,y,z) { return -Math.atan2(x, Math.hypot(y, z)) * mainWindow.radians_to_degrees; } ... - Add the following JavaScript code for
onReadingChangedsignal of Accelerometer component to make the bubble move when the Accelerometer values change:Accelerometer { id: accel dataRate: 100 active: true onReadingChanged: { var newX = (bubble.x + calcRoll(accel.reading.x, accel.reading.y, accel.reading.z) * .1) var newY = (bubble.y - calcPitch(accel.reading.x, accel.reading.y, accel.reading.z) * .1) if (isNaN(newX) || isNaN(newY)) return; if (newX < 0) newX = 0 if (newX > mainWindow.contentItem.width - bubble.width) newX = mainWindow.contentItem.width - bubble.width if (newY < 0) newY = 0 if (newY > mainWindow.contentItem.height - bubble.height) newY = mainWindow.contentItem.height - bubble.height bubble.x = newX bubble.y = newY } }You need to ensure that the position of the bubble is always within the bounds of the screen. If the Accelerometer returns not a number (NaN), the value is ignored and the bubble position is not updated.
- Add SmoothedAnimation behavior on the
xandyproperties of the bubble to make its movement look smoother.Image { id: bubble source: "Bluebubble.svg" smooth: true ... Behavior on y { SmoothedAnimation { easing.type: Easing.Linear duration: 100 } } Behavior on x { SmoothedAnimation { easing.type: Easing.Linear duration: 100 } } ...
Lock device orientation
By default, the display rotates when the device orientation changes between portrait and landscape. This application looks better if you lock the screen orientation to portrait mode.
On Android, you set the screen orientation in the AndroidManifest.xml file, which you generate in Qt Creator. To lock the orientation to portrait:
- Go to Tools > Android > Manifest XML Source. Qt Creator creates the file in an android directory inside your project directory and opens it in the manifest editor.
- In the manifest editor, select XML Source and set the
android:screenOrientationattribute of theactivityelement toportrait.<?xml version='1.0'?> <manifest ...> <supports-screens.../> <!--%%INSERT_PERMISSIONS--> <!--%%INSERT_FEATURES--> <application ...> <activity ... android:screenOrientation="portrait"> ...For more information, see Edit Android manifest files.
Add dependencies
The application uses the Qt Sensors and Qt SVG modules, so you should add them as dependencies in the CMakeLists.txt file. To add the dependencies:
- Add the
SensorsandSvgcomponents to thefind_packagefunction. This tells CMake to look up the Qt installation and import the modules:find_package(Qt6 REQUIRED COMPONENTS Quick Sensors Svg) - Add the imported targets to the
target_link_librariesfunction:target_link_libraries(appaccelbubble PRIVATE Qt6::Quick Qt6::Sensors Qt6::Svg)This tells CMake that the
accelbubbleexecutable uses the modules. CMake then passes the necessary arguments to the linker, and the appropriate include directories and compiler definitions to the C++ compiler. - To apply the configuration changes, go to Build and select Run CMake.
For more information about the CMakeLists.txt file, see Getting started with CMake.
Note: If you have not installed all the Qt modules listed in find_package(), Qt Creator asks whether you want to install them with Qt Online Installer.
Run the application
You can now deploy the application to a real or virtual Android device.
If you use a real device:
- Enable USB Debugging on the Android device.
- Connect the device to the development PC.
If you have several devices connected, Qt Creator allows you to select the device to run the application on.
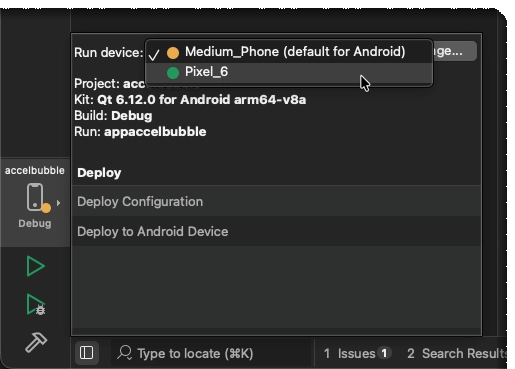
To run the application on the device, select Ctrl+R (Cmd+R).
Once the application started on the device, you can tilt the device to see the bubble move around the screen. The bubble moves in the direction of the tilt, and the speed of the movement depends on the tilt angle. The bubble moves faster when you tilt the device more.
See also Qt Academy: Getting Started with Qt for Android, How to: Design Qt Quick UIs, Qt Quick UI design, and Designing Qt Quick UIs.
© 2026 The Qt Company Ltd. Documentation contributions included herein are the copyrights of their respective owners. The documentation provided herein is licensed under the terms of the GNU Free Documentation License version 1.3 as published by the Free Software Foundation. Qt and respective logos are trademarks of The Qt Company Ltd. in Finland and/or other countries worldwide. All other trademarks are property of their respective owners.
