Login UI: Timeline
Illustrates how to use the timeline and states to animate UI components.
Login UI: Timeline is the fourth of the Qt Design Studio Login UI tutorials, which build on each other to illustrate how to create a simple UI with some basic UI components, such as pages, buttons, and entry fields.
This tutorial describes how to use the timeline and states to animate UI components. The result of this final tutorial is a UI similar to the preceding animation, where you can navigate to the account creation page by selecting the Create Account button.
In Login UI: States, you learned how to use states to simulate page changes in a UI and connections to provide user interaction with it. In this part, you learn another way of animating the UI by creating timeline animations that you bind to states.
The starting point for this tutorial is the completed Login UI: States project. You can download the project here.
Additionally, you can download the completed project of this tutorial here.
For more information, see Creating timeline animations.
Animating UI components
In Login UI: States, you changed the visibility property in different states to simulate changing pages. To make sure that those changes won't interfere with the changes to the opacity property you make next, you first remove the states.
Then, add a timeline and insert keyframes for the opacity property to hide the Repeat Password field on the login page and the Create Account button on the account creation page. Because we want the Repeat Password field to appear to slide down from the Password field, you need to insert a keyframe for its anchor margin property. To be able to animate the anchor, you also need to pull out the fields from the column component and anchor them to the rectangle and to each other instead.
To preview the changes that you make, select the Live Preview button or select Alt+P.
Replacing columns with anchors
First, prepare the Screen01 component for adding animation:
- Double-click Screen01.ui.qml in Projects to open it in the 2D view.
- In the States view, select login >
 > Delete to remove the state. Repeat for the createAccount state.
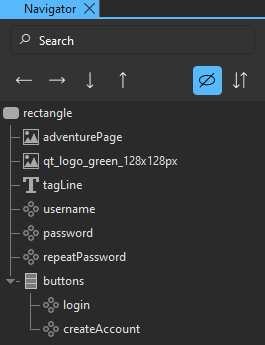
 - Select username in Navigator, and then select:
 to move username into the parent rectangle.
 to move username below tagLine in Navigator to preserve the component hierarchy.
- Repeat the previous step for password and repeatPassword.
- Select fields in Navigator, and then select Delete to delete it.
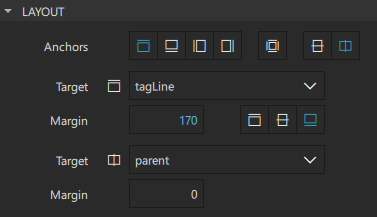
- Select username in Navigator.
- In Properties > Layout, set:
- Anchors to
 and
and  .
. - Target to tagLine to anchor username to the tag line.
- Margin to 170 and select
 to anchor username to the bottom of the target.
Note: Selecting the anchor button should automatically update the 2D view. If it doesn't, select
 on the 2D view toolbar to refresh the 2D view.
This attaches username to the bottom of the tag line while keeping its horizontal center aligned with that of the rectangle.
- Anchors to
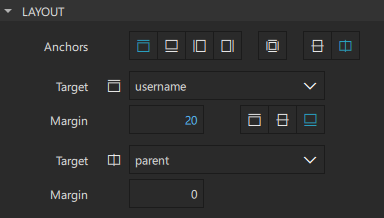
- Select password in Navigator.
- In Properties > Layout, set:
- Anchors to and .
- Target to username to anchor password to username.
- Margin to 20 and select to anchor password to the bottom of the target.
This attaches password to the bottom of username while keeping its horizontal center aligned with that of the rectangle.
- Anchors to
- Repeat the previous step to anchor the top of repeatPassword to the bottom of password with a margin of 20 and to anchor it horizontally to its parent.
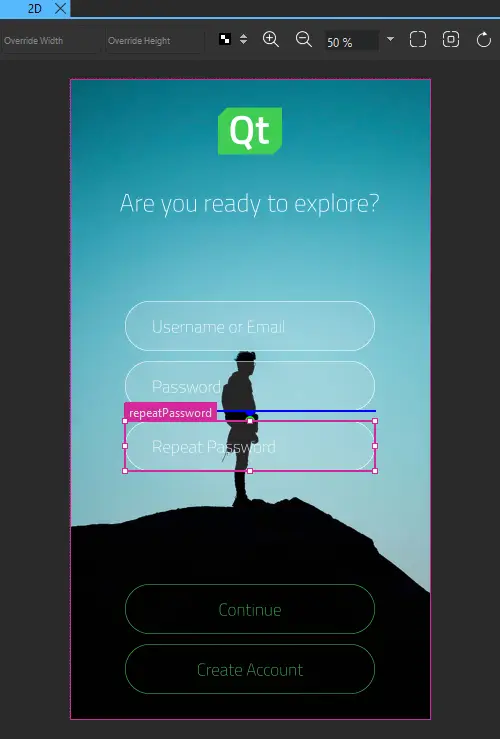
- Select File > Save or select Ctrl+S to save your changes.
Screen01 should not display visible changes in the 2D view:
Adding a timeline
You are now ready to add the timeline.
To add a timeline with settings for running the animation:
- Select View > Views > Timeline to open the Timeline view.
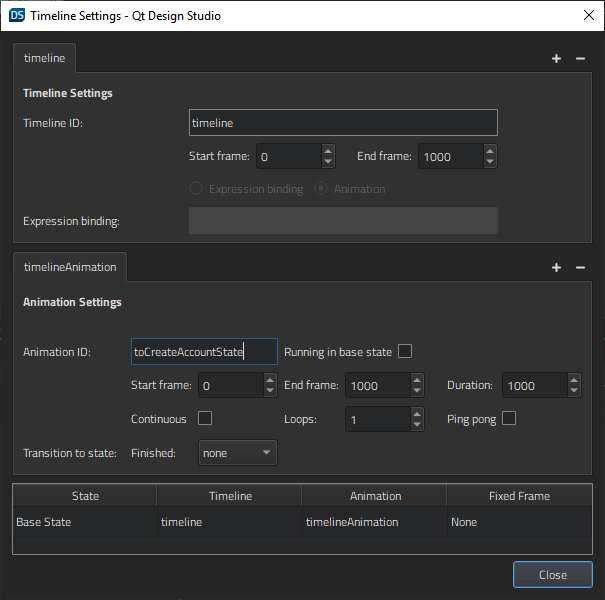
- In Timeline, select
 to add a 1000-frame timeline and define settings for running the animation.
 - In the Animation ID field, enter toCreateAccountState.
- Clear the Running in base state checkbox because you want the animation to run only after the user selects the Create Account button. Use the default settings for the other fields.
- Select Close in the Timeline Settings view to save the timeline and the animation settings.
Next, record the animation in Timeline.
Inserting keyframes
To insert keyframes and record property changes in Timeline:
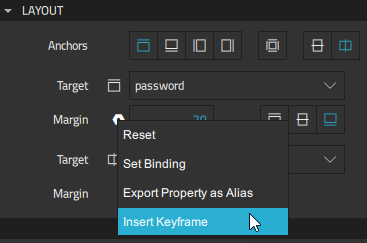
- Select repeatPassword in Navigator to display its properties in Properties.
- In Visibility > Opacity, select
 > Insert Keyframe to insert a keyframe for the opacity property of the component.
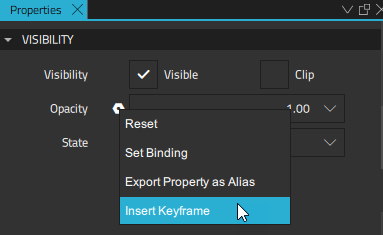
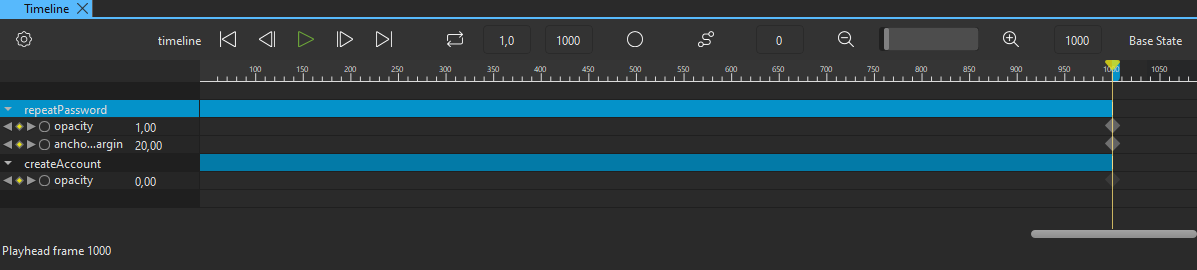
- In Timeline, check that the playhead is in frame 0, select the small arrow next to repeatPassword keyframe to expand it, and then select the
 (Per Property Recording) button for the opacity property of repeatPassword to start recording property changes.
 - In Visibility > Opacity, enter 0 to hide the button, and press Enter to save the value.
- Move the playhead to frame 1000 and change the opacity value to 1 to show the button.
Alternatively, you can fine-tune the value of a keyframe by right-clicking the keyframe marker
 , and selecting Edit Keyframe.
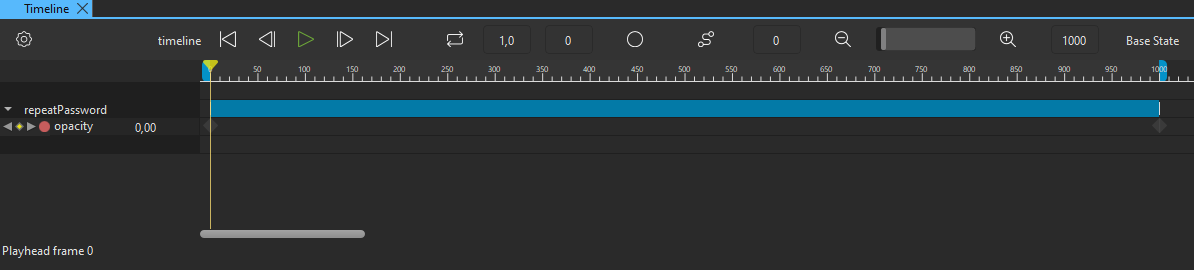
- Select the record button again to stop recording property changes. If you forget this, all the following changes are recorded, which leads to unpredictable results.
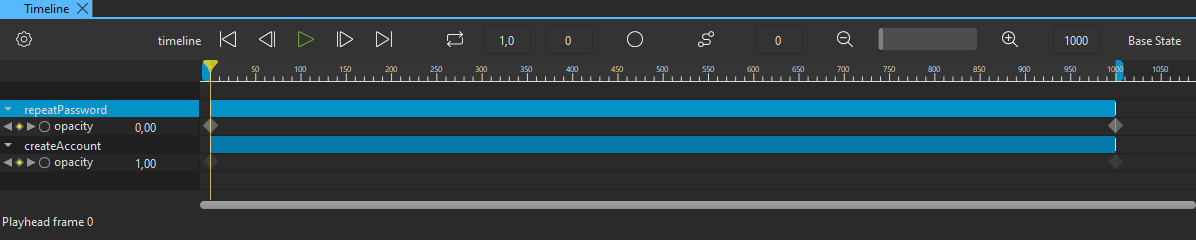
- Select createAccount in Navigator, and repeat the above steps to insert a keyframe for the Opacity property of the button and to record changes for it. However, this time the opacity value needs to be 1 in frame 0 and 0 in frame 1000.
- Select File > Save or select Ctrl+S to save your changes.
When you move the playhead along the timeline, you can see how the Create Account button fades out while the Repeat Password field fades in.
Next, animate the top anchor margin of the Repeat Password field to make it appear to slide down from the Password field.
Animating anchors
To animate the top anchor margin of the Repeat Password field:
- Select repeatPassword in Navigator to display its properties in Properties.
- In Layout > Margin (under ), select > Insert Keyframe to insert a keyframe for the top anchor margin of repeatPassword.
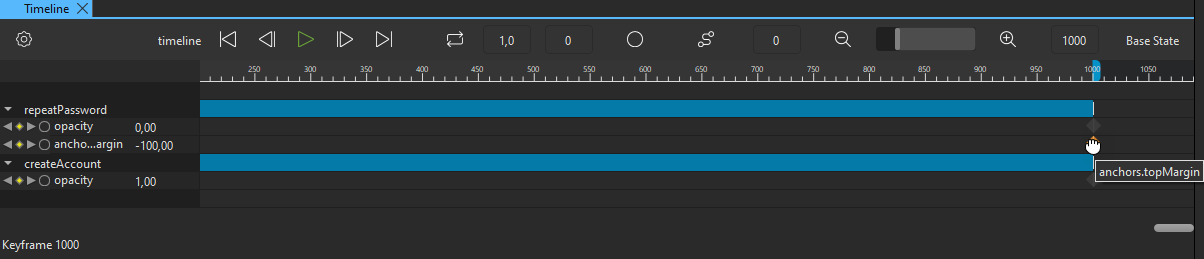
- In Timeline, check that the playhead is in frame 0, and select the record button for the anchors.topMargin property of repeatPassword.
- In Layout > Margin (under ), set a negative value for the top anchor margin, -100, to place repeatPassword on top of password.
- Move the playhead to frame 1000 and change the top anchor margin to 20, so that, combined with the change in the Opacity value, repeatPassword appears to slide down and settle below password.
- Select the record button again to stop recording property changes.
- Select File > Save or select Ctrl+S to save your changes.
Next, add easing curves to the anchor margin animation.
Adding easing curves
To make the transition seem smoother, add an easing curve to the anchor margin animation:
- Select the keyframe marker for the anchors.topMargin property at frame 1000 on the timeline to select it.
- Right-click the keyframe marker to open a context menu, and select Edit Easing Curve to add an easing curve to the animation.
- In Easing Curve Editor, select easeOutSine.
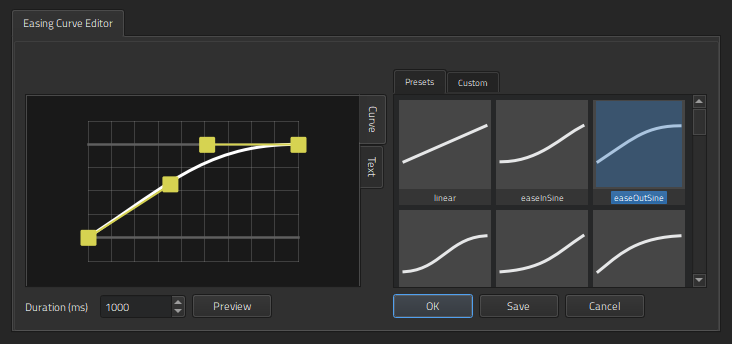
- Select OK to close the editor.
When you attach easing curves to keyframes, the shape of the keyframe marker changes from to  .
.
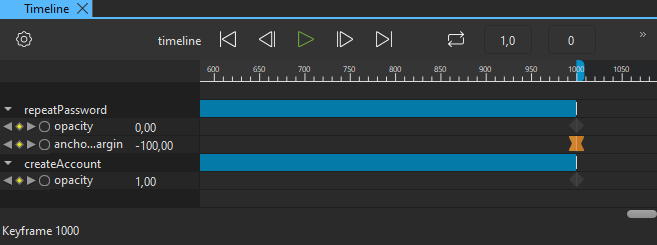
Your timeline should now look something like this:
Next, create states for the login and account creation pages and bind them to the animation settings.
Binding animation to states
To bring back the states in the States view and bind them to the animation settings in Timeline:
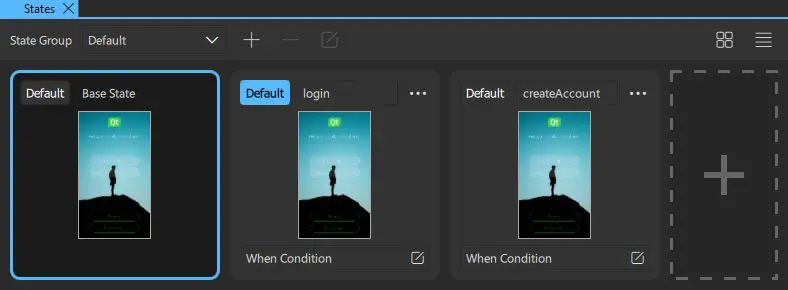
- In States, select twice to add two states and name them login and createAccount. You don't need to make any property changes this time because you'll bind the states to property animations.
- In States, select Default for login to determine that the login state is applied when the application starts.
- With the base state selected, select Timeline >
 (Timeline Settings (S)) on the toolbar (or select S) to open the Timeline Settings dialog.
 - Double-click the cell in the Timeline column on the login row, and select timeline in the list.
- Double-click the cell in the Timeline column on the createAccount row, and select timeline in the list.
- Double-click the cell in the Animation column on the createAccount row, and select toCreateAccountState.
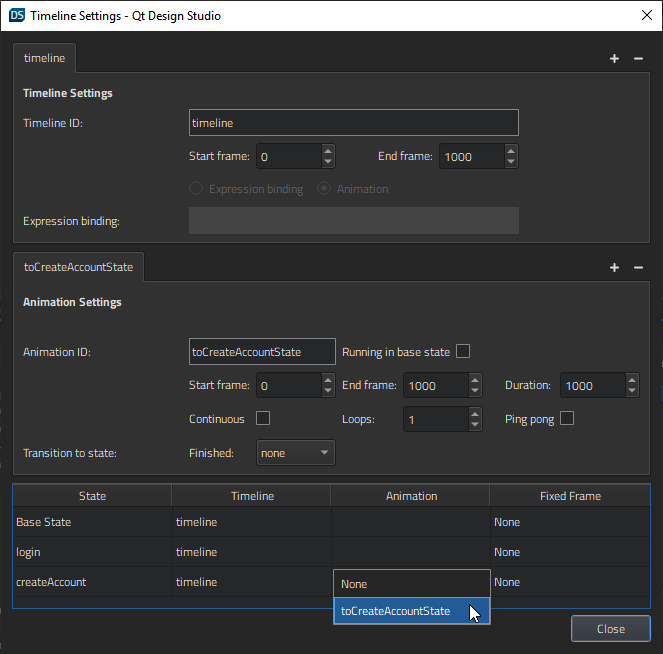
- Select Close to save the timeline settings.
- Select File > Save or Ctrl+S to save your changes.
In Live Preview, you can now select the Create Account button to go to the account creation page.
Next steps
To continue learning about Qt Design Studio, see Examples and other Tutorials.
Files:
Available under certain Qt licenses.
Find out more.
