Design Effects
Qt Design Studio provides a set of effects in the Properties view that you can apply to the components.
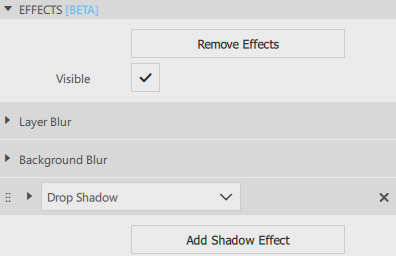
Note: This feature is a Beta release.
The available set of Design Effects applies to the Qt Design Studio components:
Applying Layer Blur to a component
Use Layer Blur to make a component blurry. To apply Layer Blur to a component:
- Select the component in the 2D or Navigator view.
- Go to the Properties view > Effects and select Add Effects.
- Go to Layer Blur and enter the level of blurring you need in Blur.
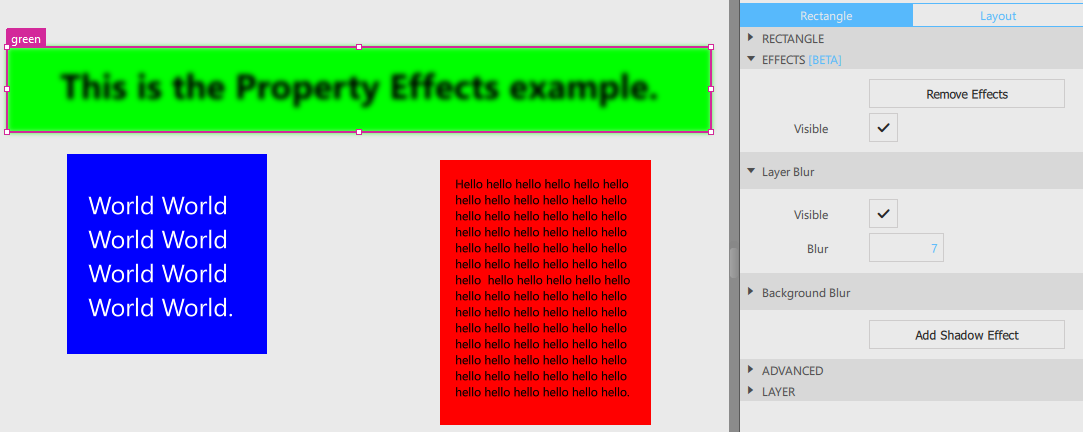
Note: The level of Layer Blur is adjustable between zero and one hundred.
To remove the applied Layer Blur, select the component, then go to Properties view > Layer Blur > Remove Effects. This also removes all the other effects applied to the component.
Applying Background Blur to a component
Apply Background Blur to a component when you want to blur a selected component behind it. Consider the following:
- Make the component partially transparent. With solid color, the background component is not visible.
- Use a solid color on the background component. On a transparent background component the Background Blur does not function properly.
Note: Currently, the Background Blur functions on top of only one selected background component. All the other components ignore the blurring.
After fulfilling the above conditions, apply the Background Blur to a component:
- Select the component in the 2D or Navigator view.
- Go to the Properties view > Effects and select Add Effects.
- Go to Background Blur and enter the level of blurring you need in Blur.
- In the Background dropdown menu, select another components as the background component.
- Drag the component on top of the background component. The area from the component covering the component selected as Background gets blurred. However, any other component behind the component doesn't blur.
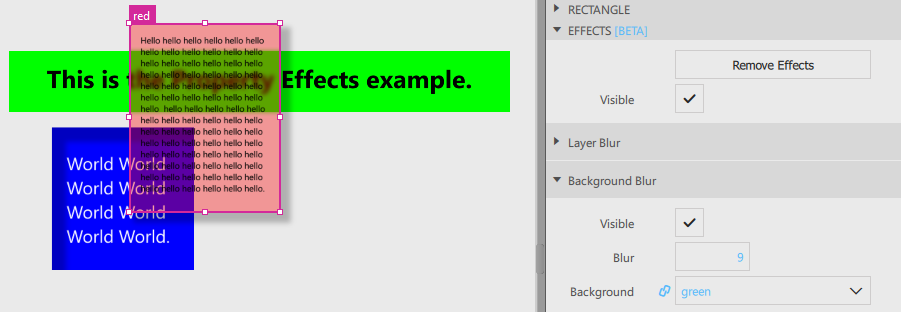
Applying Drop Shadow to a component
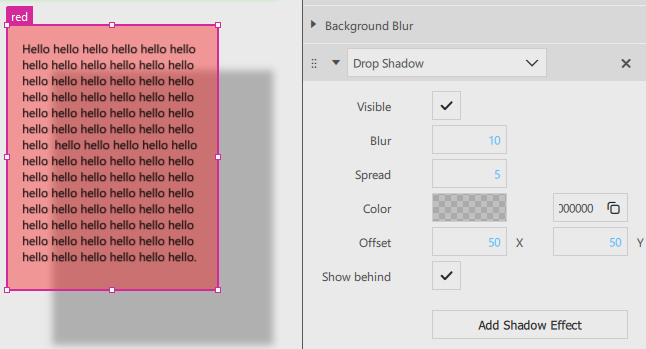
Shadows can either fall outside or inside the component. The shadow that falls outside is a drop shadow. To apply a Drop Shadow to a component:
- Select the component in the 2D or Navigator view.
- Go to the Properties view > Effects and select Add Effects.
This adds the default drop shadow to the component. To adjust this shadow:
- Select the component and go to the Properties view > Effects. Then, select
 next to the shadow type selector dropdown menu.
 - Adjust Blur, Offset, Spread, and Color to shape the shadow.
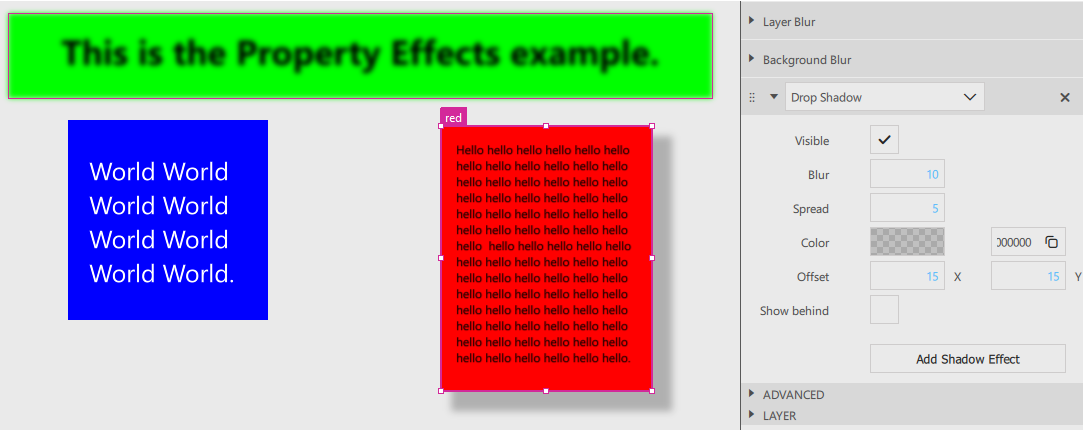
Note: To stack multiple shadows, select Add Shadow Effect from the Properties view. After adding multiple shadows, you can adjust them separately from their expandable menu.
The Show behind feature in Drop Shadow only works when the component is transparent. To use it:
- Select the component with a drop shadow.
- Go to the Properties view > Effects. Then, select
 next to the shadow type selector dropdown menu.
 - Select Show Behind.
Applying Inner Shadow to a component
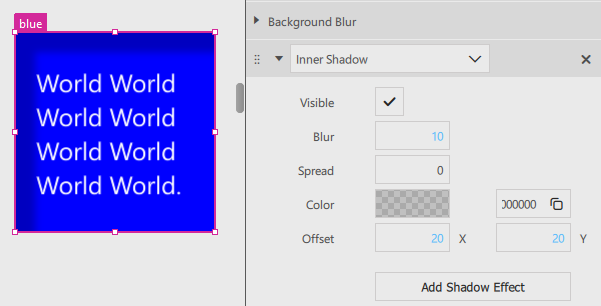
Inner shadow works inside a component. To apply Inner Shadow:
- Select the component in the 2D or Navigator view.
- Go to the Properties view > Effects and select Add Effects.
- From the dropdown menu, select Inner Shadow.
- Adjust Blur, Offset, Spread, and Color to shape the shadow.
Available under certain Qt licenses.
Find out more.

