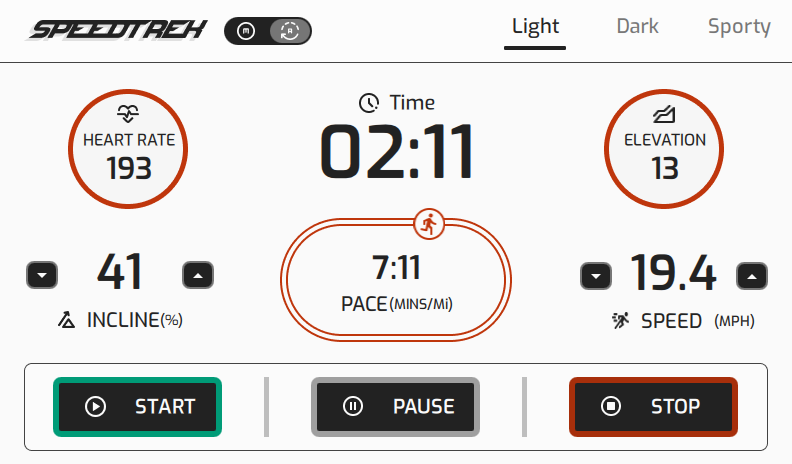
MCU Treadmill
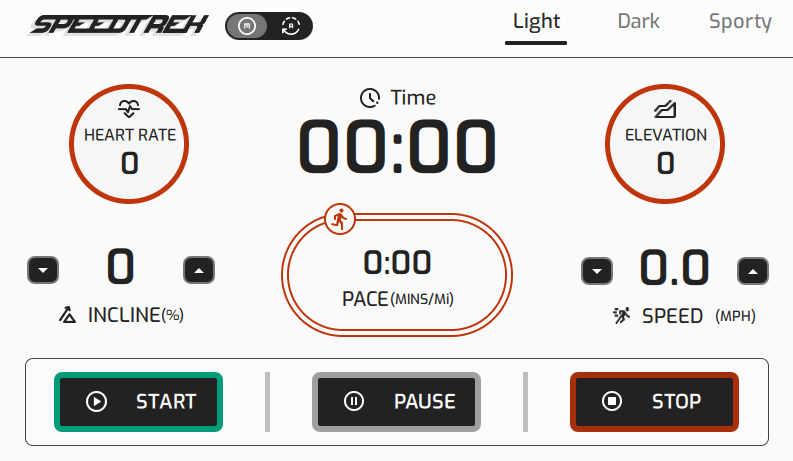
MCU Treadmill is designed in Figma. You can bring the design to Qt Design Studio and create a responsive MCU Treadmill application.
You should have these prerequisites available:
- Qt Design Studio Enterprise license.
- Qt Design Studio 4.7 or above.
Getting the MCU Treadmill design to Figma
- Get the optimized MCU Treadmill for Figma design from here.
- Go to Figma and log in.
- Open the downloaded MCU Treadmill design in Figma.
Importing the MCU Treadmill design from Figma
To import the MCU Treadmill design for Qt Design Studio, first set up Qt Bridge for Figma.
- Select the MCU Trademill project in Figma.
- Select Main Menu > Plugins > Qt Bridge for Figma.

.
- Select Export, then Save. By default, the
.qtbridgefile is saved asmcuDemo.qtbridge.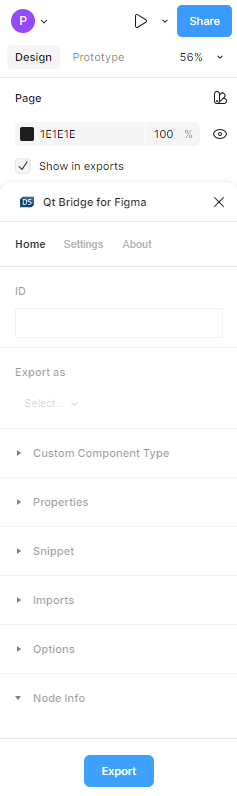
- Select Close, then exit Figma.
Getting the MCU Treadmill design in Qt Design Studio
After importing the MCU Treadmill design from Figma:
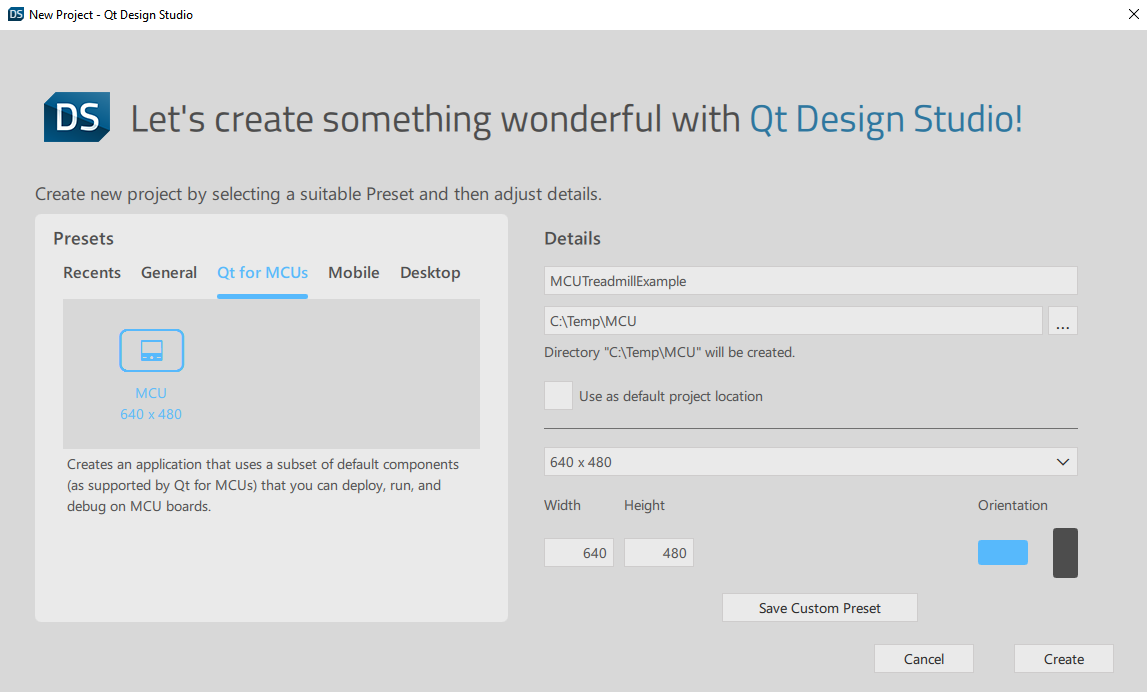
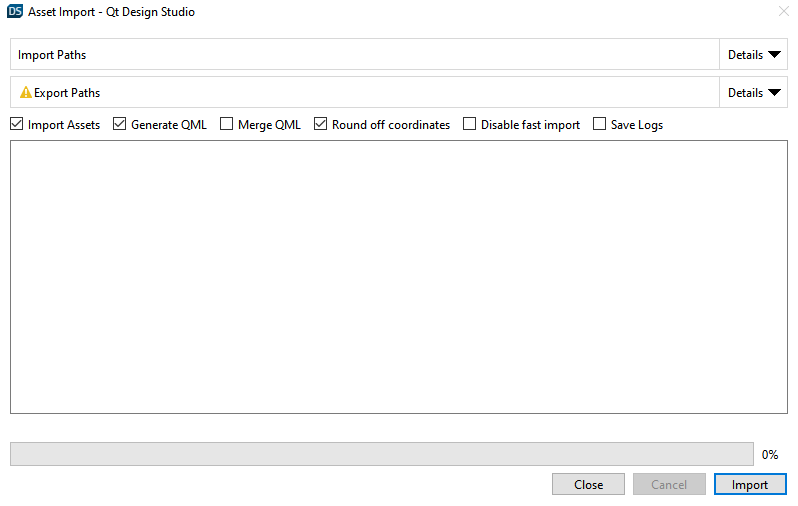
- Create a new Qt Design Studio project for MCU.
- Drag the
.qtbridgefile (mcuDemo.qtbridge) to the 2D view.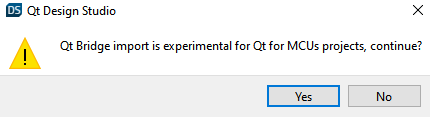
- Select Yes, then select Import.
- In the following notification, select No. This replaces the existing
Screen01.ui.qmlfile with the imported file.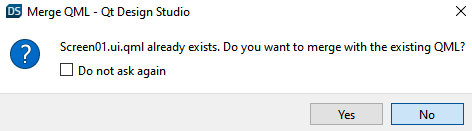
- After a successful import, select Close.
Note: Install this font on your system to match the font used in the Figma design.
With the design in place, you can now add desired functionalities to the imported components with connection, state, timeline animation, QML, and Javascript. Find a fully functional example in the Examples section on the Qt Design Studio homepage.
Adding timeline animations to the MCU Treadmill example
Add timeline animations to the TrackView.ui.qml and SplashScreen.ui.qml files to animate the real-time progress of the treadmill, and the loading screen of the MCU Treadmill example.
Adding animation to TrackView.ui.qml
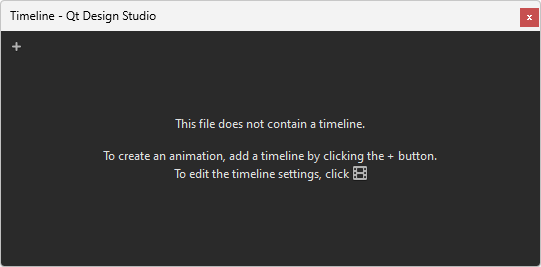
- Select
TrackView.ui.qmlin the Projects view. - To add a new timeline, go to the Timeline view and select
 .
.
- Set the Timeline ID to
timeline, Animation ID totimelineAnimation, and the Duration to10000. Also, select Continuous and clear the Running in base state checkbox.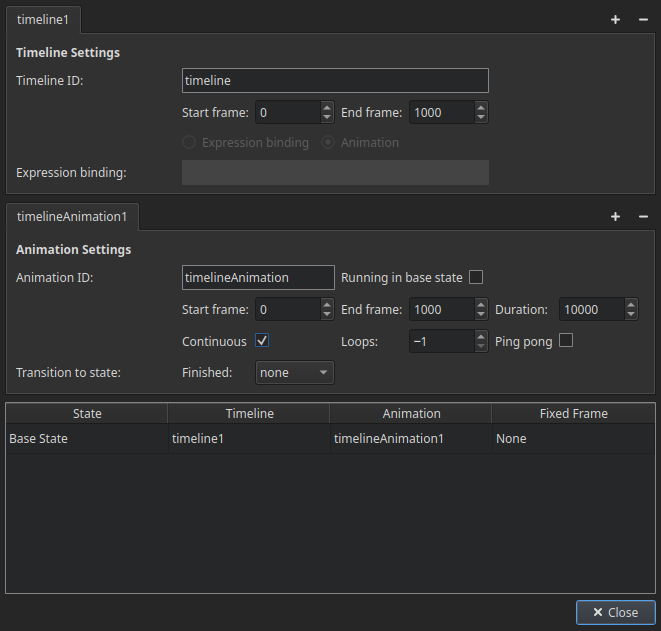
- Select
 (Auto Key) to enable automatic keyframe generation.
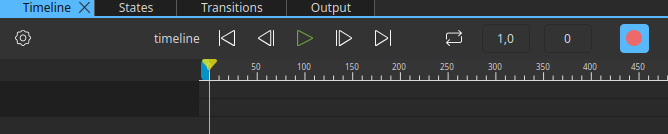
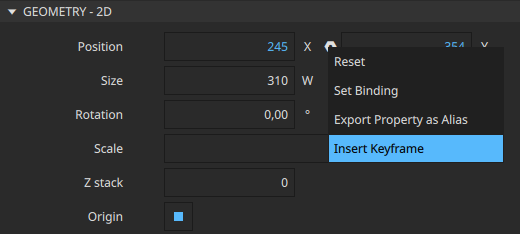
- In the Navigator view, select
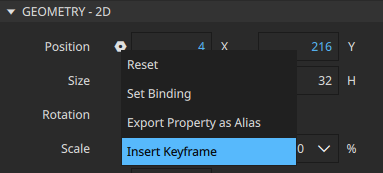
trackView_merge_1. Then, go to the Geometry-2D in the Properties view, and for both X and Y Position, select > Insert Keyframe.
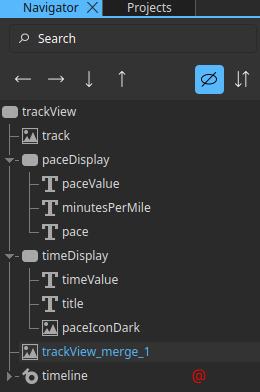
- In the Timeline view, move the playhead (1) to 200 frames.
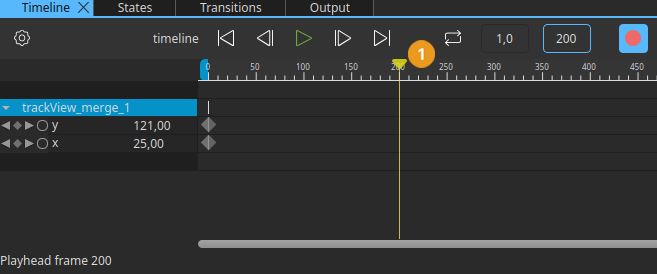
- In the 2D view, drag
trackView_merge_1across the track image towards the bend.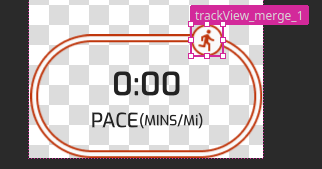
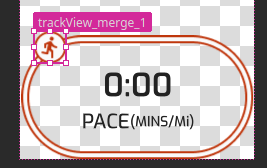
- In the Timeline view, move the playhead (1) 20 frames ahead.

- In the 2D view, drag
trackView_merge_1slightly ahead across the track image.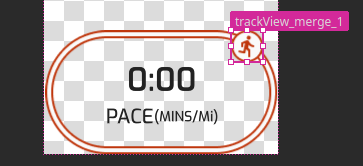
- Repeat steps 8 and 9 until the
trackView_merge_1almost returns to its beginning position.
- Select (Auto Key) to stop automatic keyframe generation.
Adding animation to SplashScreen.ui.qml
- Select
SplashScreen.ui.qmlin the Projects view. - To add a new timeline, go to the Timeline view and select .
- Set the Timeline ID to
timeline, Animation ID totimelineAnimation, and Duration to5000.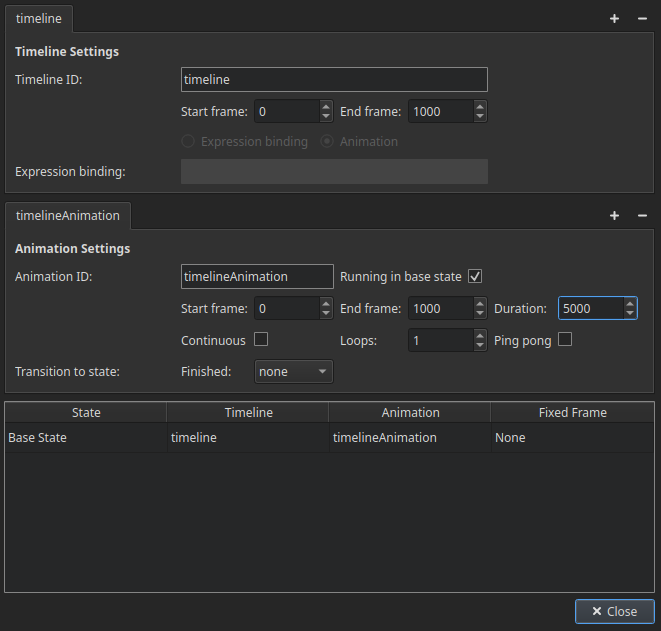
- Select (Auto Key) to enable automatic keyframe generation.
- In the Navigator view, multi-select
slogan,qtLogo, andspeedtrekLogo.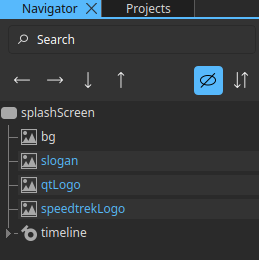
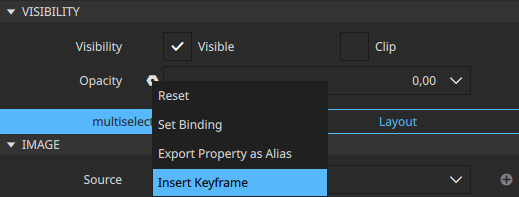
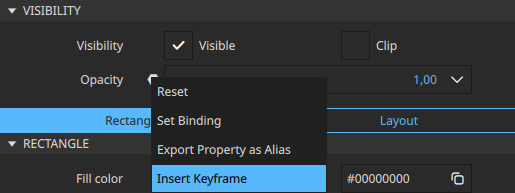
- Go to the Properties view > Visibility, and select > Insert Keyframe to insert a keyframe in the animation timeline. Then, set Opacity to
0.
- Now, select only
sloganfrom the Navigator view. Then, go to Properties view > Geometry-2D > Position, and set X to254.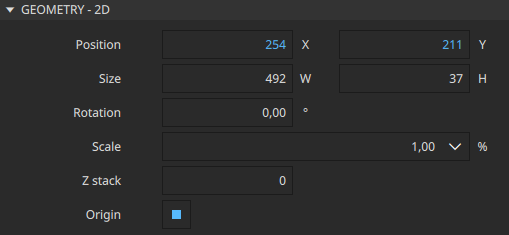
- Select
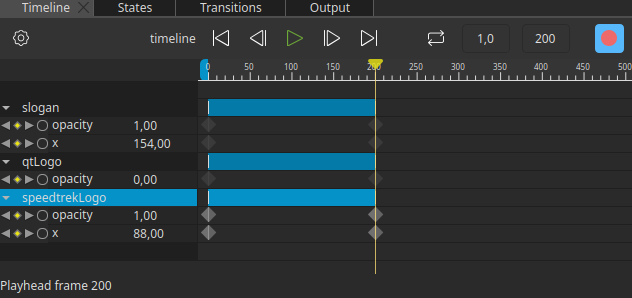
speedtrekLogofrom the Navigator view. Then, go to Properties view > Geometry-2D > Position, and set X to-12. - In the Timeline view, move the playhead to 200 frames.
- Select
sloganfrom the Navigator view. Then, in the Properties view, set:- Geometry-2D > Position > X to
154. - Visibility > Opacity to
1.
- Geometry-2D > Position > X to
- Select
speedtrekLogofrom the Navigator view. Then, in the Properties view, set:- Geometry-2D > Position > X to
88. - Visibility > Opacity to
1.
- Geometry-2D > Position > X to
- Select the
qtLogofrom the Navigator view. Then, in the Properties view, select:- Geometry-2D > Position > Y > > Insert Keyframe.
- Visibility > Opacity > > Insert Keyframe.
- Geometry-2D > Position > Y >
- In the Timeline view, move the playhead to 400 frames.
- Select the
qtLogofrom the Navigator view. Then, in the Properties view, set:- Geometry-2D > Position > Y to
334. - Visibility > Opacity to
1.
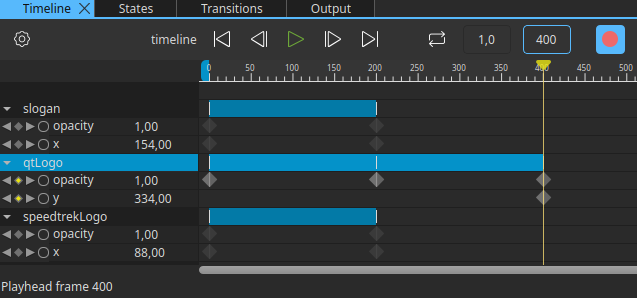
- Geometry-2D > Position > Y to
- In the Timeline view, move the playhead to 800 frames.
- Select
splashScreenfrom the Navigator view. Go to the Properties view > Visibility, and for Opacity, select > Insert Keyframe.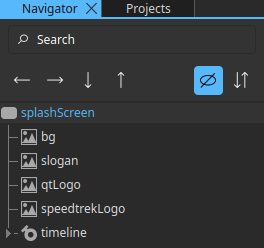
- In the Timeline view, move the playhead to 1000 frames.
- Select the
splashScreenfrom the Navigator view. Go to the Properties view > Visibility, and set Opacity to0.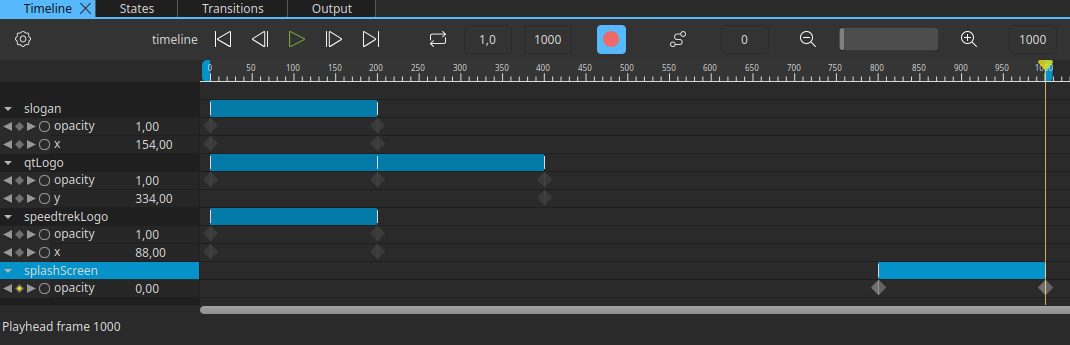
- Select (Auto Key) to stop automatic keyframe generation.
Running the MCU Treadmill example in Qt Design Studio
- Open Qt Design Studio, then select Examples.
- Download the MCU Treadmill example.
- Select the downloaded project to open it in Qt Design Studio.
- Select Run App, then select
 .
.
To find the logic and animations of this example, check these files in the Code view:
| File name | Description |
|---|---|
SplashScreen.ui.qml | Defines the home screen animation of the MCU Treadmill example. |
TrackView.ui.qml | Defines the track animation of the MCU Treadmill example. |
TreadmillMcuDemo.qml | Defines the logical functionalities of the MCU Treadmill example. |
Running the MCU Treadmill example in Qt Creator or on MCUs
Note: This instruction set should work on all MCUs. For this particular example we are using an STM board.
To run the MCU Treadmill in Qt Creator, first you need to:
- Install Qt Creator. Learn to install Qt Creator.
- Install the latest Qt for MCUs. Learn to install Qt for MCUs.
- Install the board-specific files:
- Open
MaintenanceTool.exein the Qt installation folder.
- Log in with your Qt account and proceed.
- Select Add or remove components, then select Next.
- Select
 next to the Qt for MCUs option to expand the list related to Qt for MCUs.
 - Then select next to the Qt for MCUs version you want to install.
- Select Common Files and your STM board library. For this example, you can choose STM32F769I Discovery if that STM board is available to you.
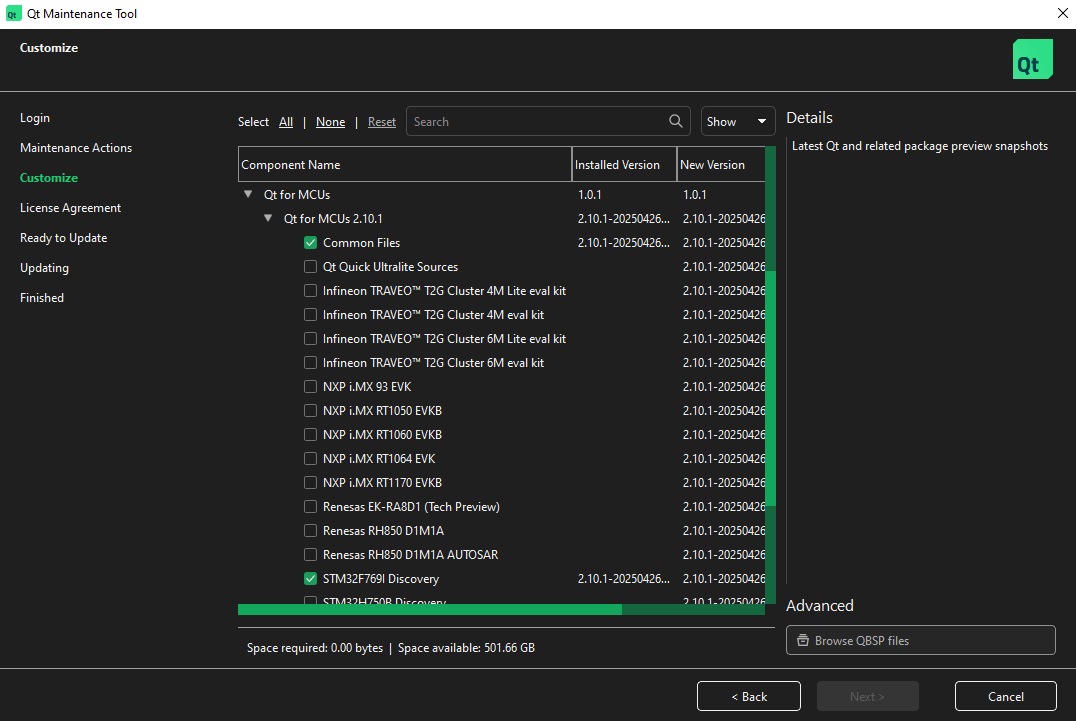
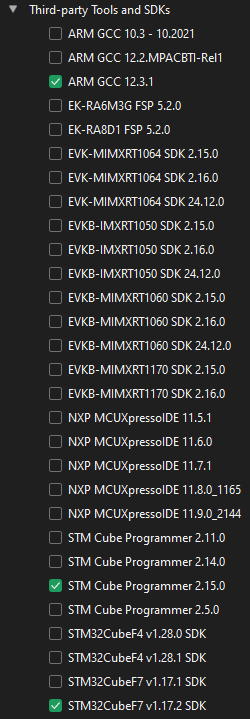
- Then, select next to the Third-party Tools and SDKs. From the list, matching your STM board, select the latest version of:
- ARM GCC
- STM Cube Programmer
- STM32Cube
- Select Next, and then Update.
- After the update, select Finish.
Learn more about supported target boards and development hosts.
- Open
When you have all the necessary STM board and MCU kit-related files installed in Qt, you are ready to configure Qt Creator to run the Qt Design Studio application on the STM board. To learn how to configure Qt Creator for your STM board, see Getting started on STM.
After configuring Qt Creator for the STM board, you can run your Qt Design Studio application from Qt Creator.
To run your Qt Design Studio application from Qt Creator:
- Open Qt Creator and select Open Project....
- Browse to your Qt Design Studio project folder, select
CMakeLists.txt, then select Open. This contains all the necessary code that Qt Creator needs to build and run your project.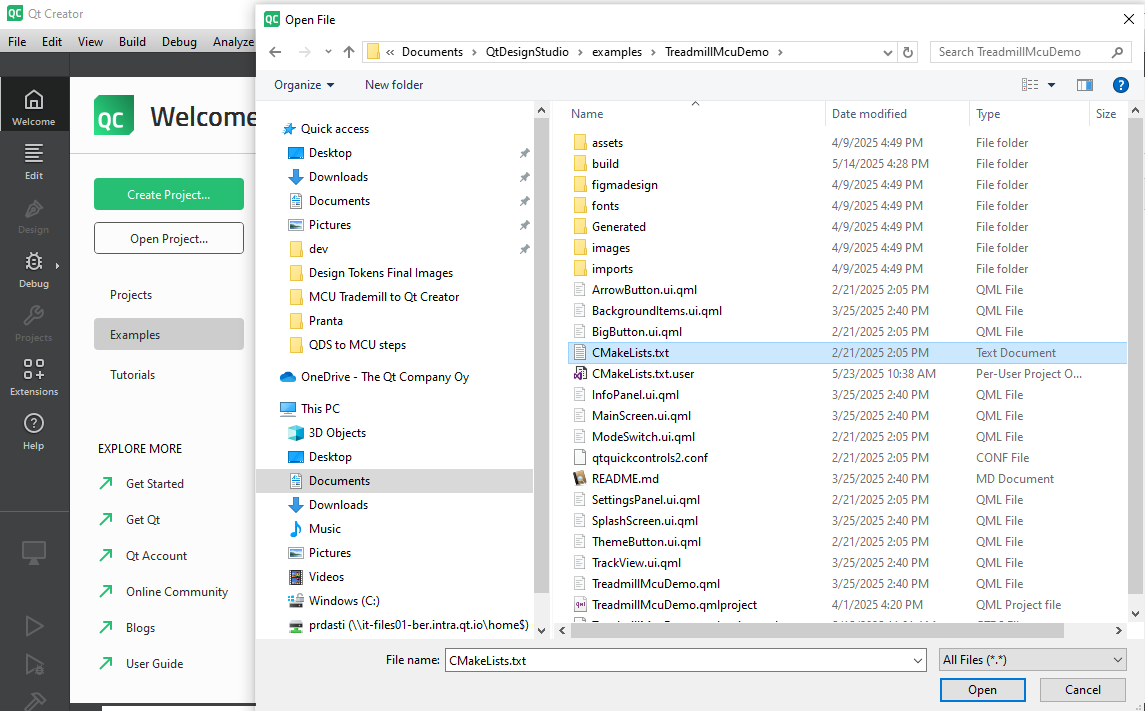
- After Qt Creator finishes loading your project, select Projects. Under the Build & Run options, double-click the MCU kit you want to use to run this application. To run it as a desktop application from Qt Creator, select the desktop kit for MCU. To run it on your preferred STM board, select the STM kit.
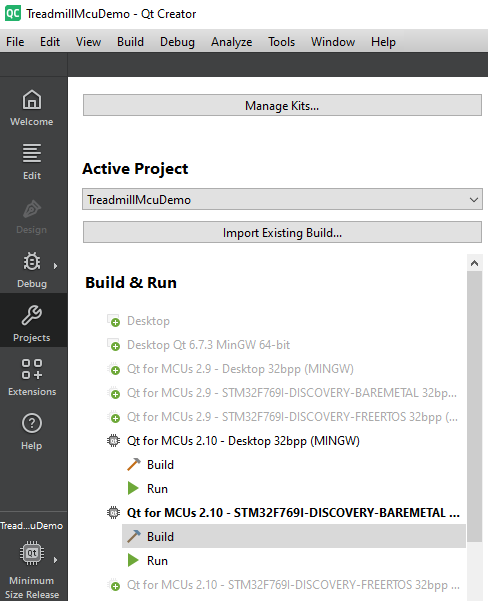
Note: Double-clicking starts to build the kit for Qt Creator. Later, you can access these kits from the Kit Selector above the
button. You can check the General Messages at the bottom bar of Qt Creator to see if anything went wrong during the build process. - If you have selected the desktop version of the MCU kit, select . If you have selected the STM board version of the MCU kit, skip to the next step.
- Connect the STM board to your computer.
- Optional. Select
 to build your application. It helps you to see if the project has any issues, and you can fix those before running the application.
 - To run the application on your STM board, select Run. This can take a while, depending on your project's size, the capability of the MCU, and the transfer speed. You can open Application Output from the bottom bar of Qt Creator to check the progress.
To learn more about running an application in Qt Creator, see here.
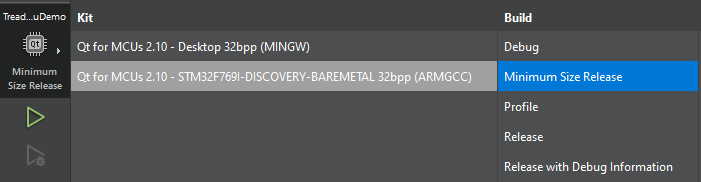
Note: Before running you can select Kit Selector above the
button, then select the MCU kit for your STM board from there, and select Minimum Size Release. This optimizes your application's file sizes before pushing them to your STM board.
Available under certain Qt licenses.
Find out more.
