Importing 3D assets
In Qt Design Studio, you can import 3D assets in formats such as .stl, .dae, .fbx, .glb, .gltf, .obj, .uia, and .uip. For a list of formats supported by each Qt Quick 3D version, see the module documentation.
During the import, you can optimize the files for Qt Design Studio. You can remove components from meshes to reduce the cache size, find and fix issues in the files, optimize graphs and meshes, and so on. The available options depend on whether you are importing files that you created with Qt 3D Studio or with other 3D graphics tools. See the tooltips in the options dialog for more information about a particular option.
For more information about exporting 3D graphics, see Exporting 3D assets.
To import 3D assets to Qt Design Studio:
- Open the import dialog in one of the following methods:
- Select Assets >
 , select the files you want to import, and then select Open.
 - Drag a 3D asset file from a file manager to the 3D view. You can also select multiple 3D assets and then drag them to the 3D view. In this case, the 3D assets will be added to your scene, so they will appear in the 3D and Navigator views.
- Select Assets >
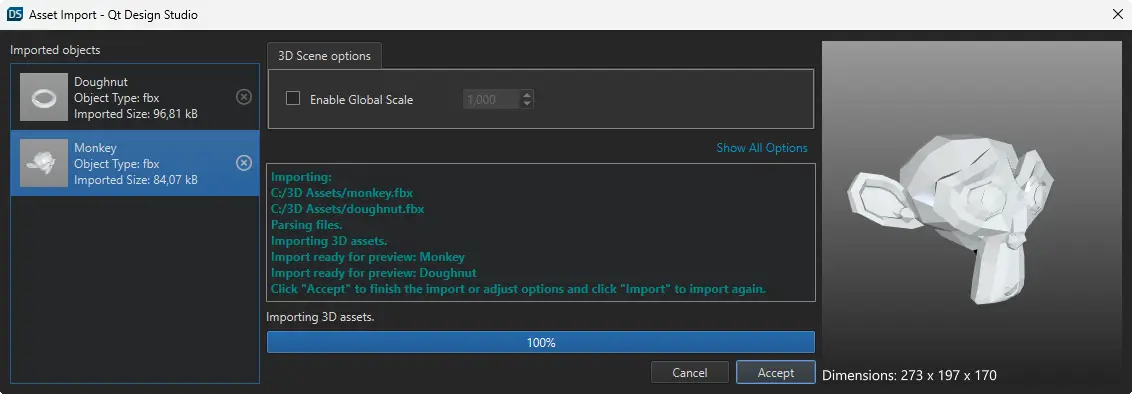
- Optional: To define options for importing 3D assets:
- Select the asset you want to import from the Imported objects list.
- Define options for importing the files in the 3D Scene Options tab.
Note: To see all options, select Show All Options.
- Select Import to generate the 3D asset with the updated settings.
- Optional: Use the preview image to preview the 3D asset before importing it. Drag the preview image to rotate it.
- Select Accept to import the 3D assets.
After importing the 3D asset, it is available as a .q3d file in Assets > 3D.
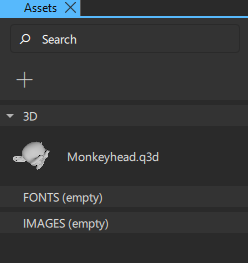
To add an imported 3D asset to the scene, drag the .q3d file from Assets to the Navigator or the 3D view, which automatically adds the required import to your project.
Managing imported 3D assets
Qt Design Studio creates a placeholder .q3d file for each imported asset in the <projectcontent>/3d folder. You can move the .q3d files to a different content folder if needed.
To edit the imported 3D assets in Assets, do one of the following to open the associated .qml:
- Double-click the
.qd3file in Assets. - Right-click the
.qd3file in Assets to open the context-menu, and then select Edit Component. - If the asset has already been added to the scene, right-click it in Navigator, and then select Edit Component
To delete a 3D asset from Assets, right-click the .q3d file and select Delete File. Doing this also removes the imported component and any usages from the currently open QML file.
Available under certain Qt licenses.
Find out more.
