Installing the Squish AI Assistant Extension
The Squish AI Assistant is a separate extension for the Squish IDE that can be installed to enable AI assistance.
Additional system requirements for Squish AI Assistant Extension
There are some additional requirements for installing and using the AI Assistant on top of the requirements that the Squish IDE has.
- Squish IDE 9.1.0 or later
- Webkit support for GTK on Linux
- Package dependencies:
- Debian/Ubuntu: libwebkit2gtk, libwebkitgtk
- CentOS/Fedora/RHEL: webkit2gtk3, webkit2gtk3-jsc, webkit2gtk3-plugin-process-gtk2
- Internet connectivity during the installation. This is necessary to transport and store your acceptance of the license agreement on the Qt data backend.
- On the Windows platform
- Windows 10 or newer is required
- Microsoft Edge needs to be installed on the system
Downloading Squish AI Assistant Extension
The Squish AI Assistant extension can be found in the Software Quality section of Qt Customer Portal after choosing Squish as a product. The downloadable file (with the title Squish AI Assistant) is Squish-AI-Assistant-$(version).zip. Download the file to your local disk and do not unpack it.
Installing the Squish AI Assistant Extension
To install the Squish AI Assistant Extension in the Squish IDE select Help > Install AI Assistant Extension... to open the Install AI Assistant dialog.
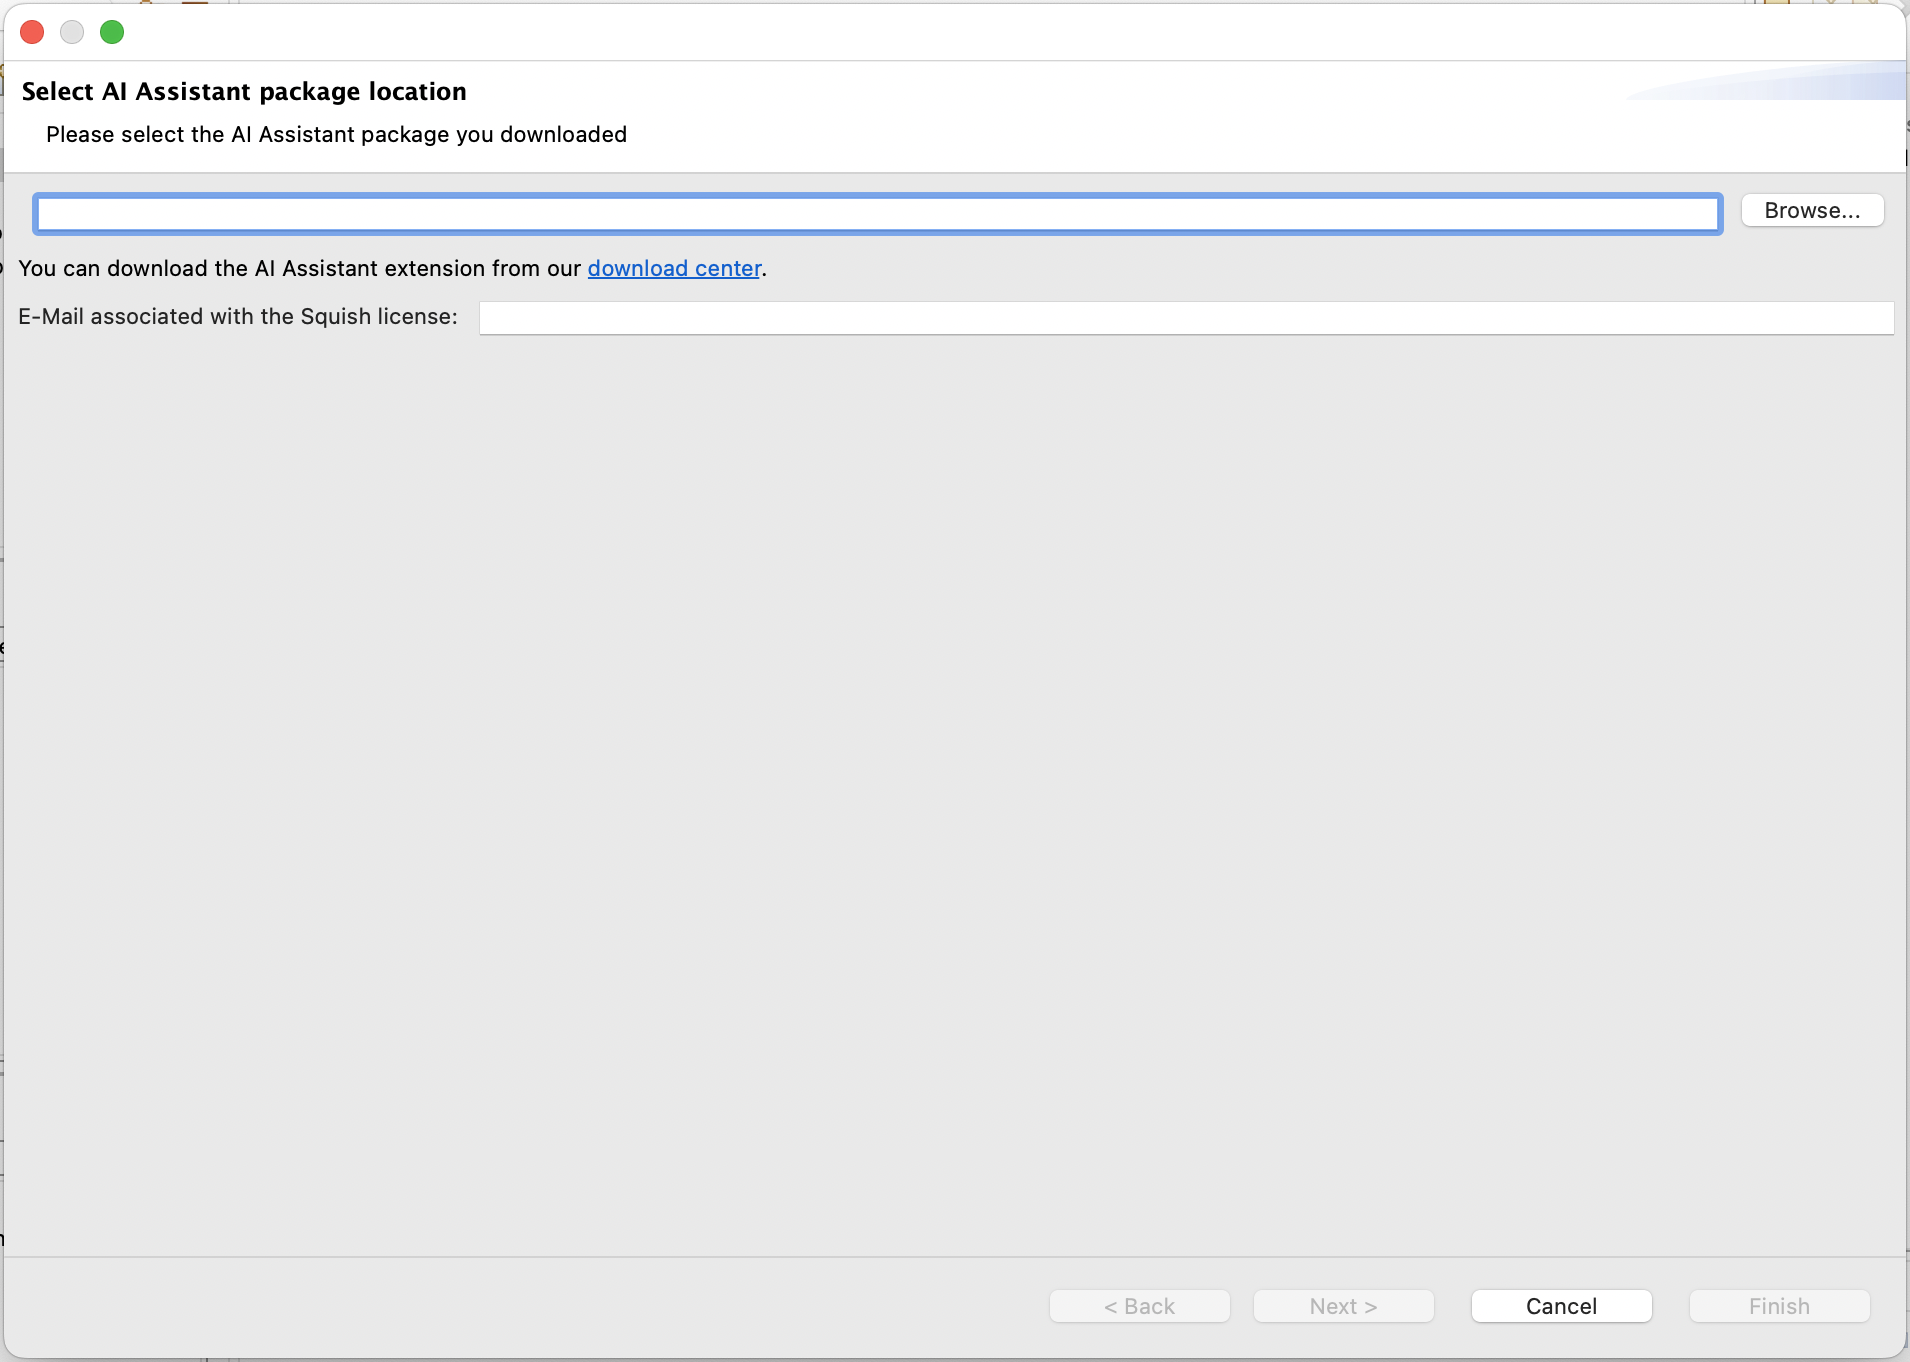
Squish AI Assistant installation wizard
- Select Browse to open the file chooser dialog, and locate the Squish AI Assistant Extension
.zipfile you downloaded. - In the Email field, enter the email you used to create your Qt Account. This is being transferred and stored alongside your acceptance of the license terms to a data backend in Qt.
- Select the Next button to review and accept the license terms.
- Check the checkbox to accept the license terms and select the Finish button to start the installation.
- After the installation is done select the Restart Now button to restart the IDE so the extension will be loaded.
Squish AI Assistant Installation Location
The location where Squish AI Assistant is installed depends on how Squish has been installed. There are two scenarios:
- Squish installed in a user-writable location:
- Squish AI Assistant is installed into the same directory as Squish.
- This allows for centralized plugin management and easier integration.
- Squish installed in a user-non-writable location:
- Squish AI Assistant is installed into the user's home directory under the
.eclipsedirectory. - The installation path follows this structure:
~/.eclipse/org.eclipse.platform_<version>_<buildId>_<os>_<ws>_<arch>/plugins
- where:
<version>— Eclipse platform version used by Squish (e.g., 4.26.0).<id>— unique identifier for the Squish IDE instance (e.g., 151745203).<os>— operating system (e.g., macosx, linux, win32).<ws>— windowing system (e.g., cocoa, gtk, win32).<arch>— system architecture (e.g., x86_64, aarch64).
- Squish AI Assistant is installed into the user's home directory under the
Configuring the Squish AI Assistant
In order to use the Squish AI Assistant it is necessary to configure which Large Language Model (LLM) it should connect to. This is done through the Preferences dialog. Select Edit > Preferences to open the dialog.
Select Squish AI Assistant from the list on the left side. Then select your preferred LLM Provider from the AI Interface dropdown.
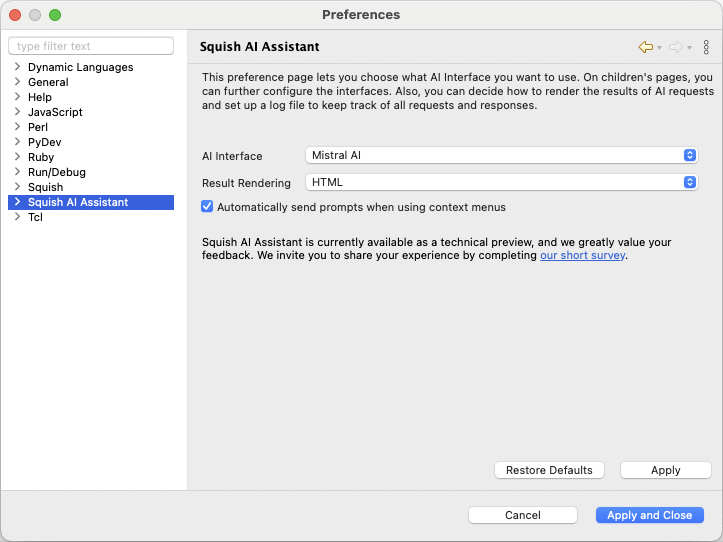
Squish AI Assistant Extension preference for LLM Provider
Expand the Squish AI Assistant and select the sub-section related to the AI Interface you just selected.
Configuring Mistral AI
Select the MistralAI item below Squish AI Assistant.
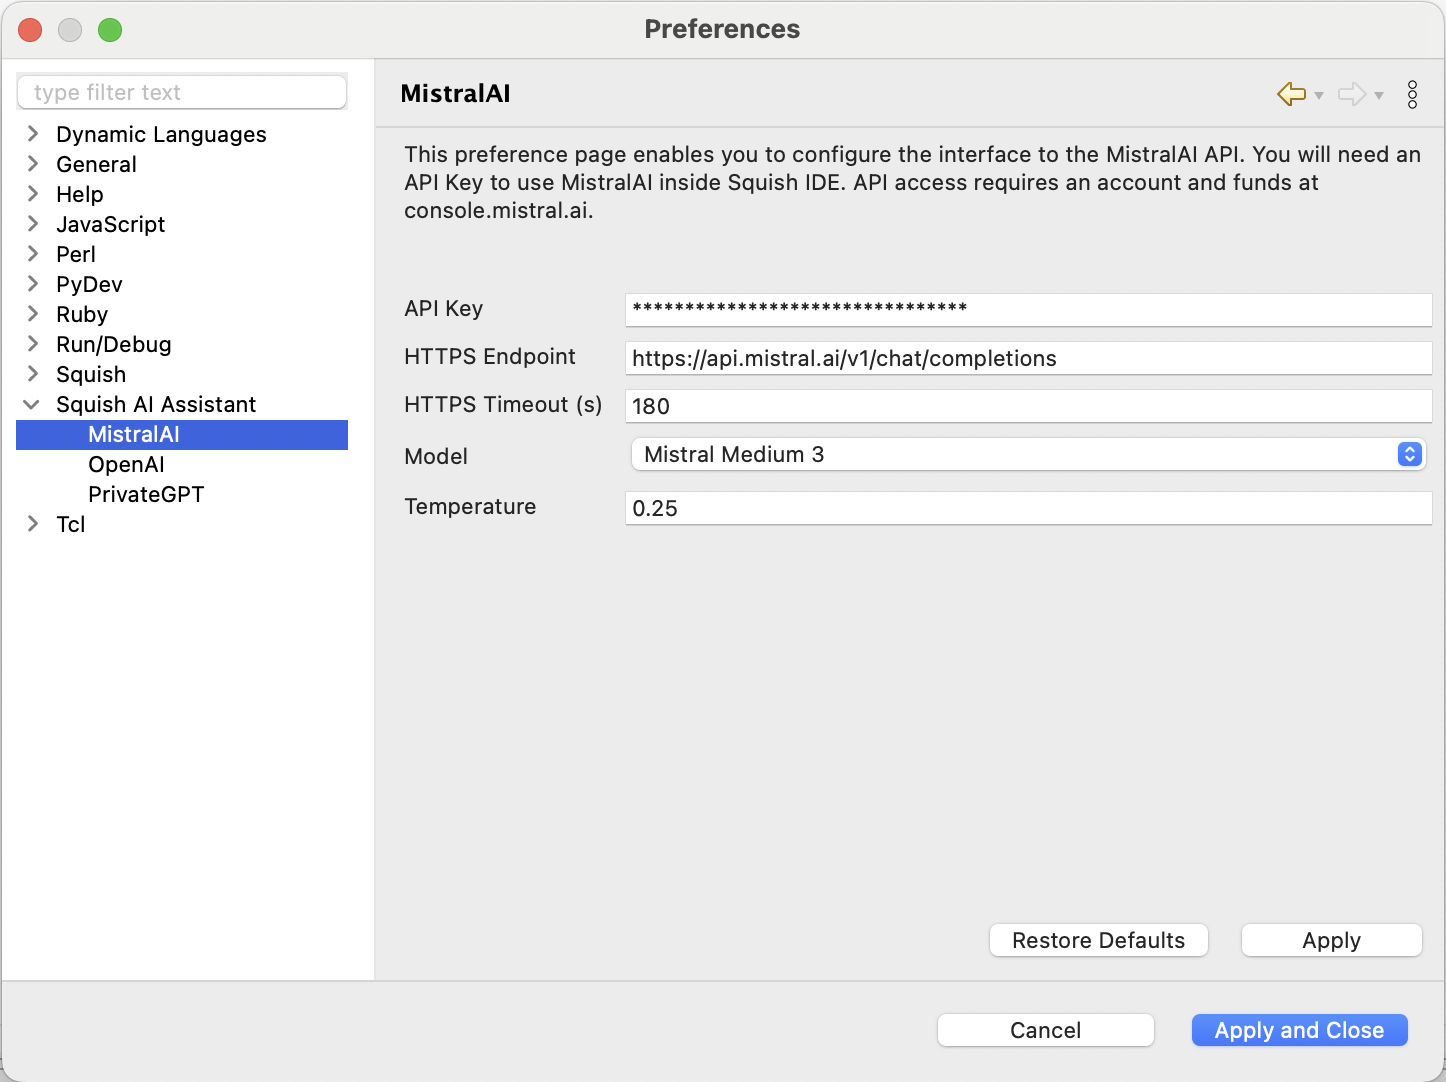
Squish AI Assistant preference for Mistral AI
You need to obtain an API Key from Mistral AI by going to Mistral AI Console, the free tier option is sufficient to use it with the Squish AI Assistant.
Paste the API Key you obtained into the API Key field and select the model you would like to use in the Model dropdown. You can usually leave the rest of the settings at their default.
Configuring OpenAI
Select the OpenAI item below Squish AI Assistant.
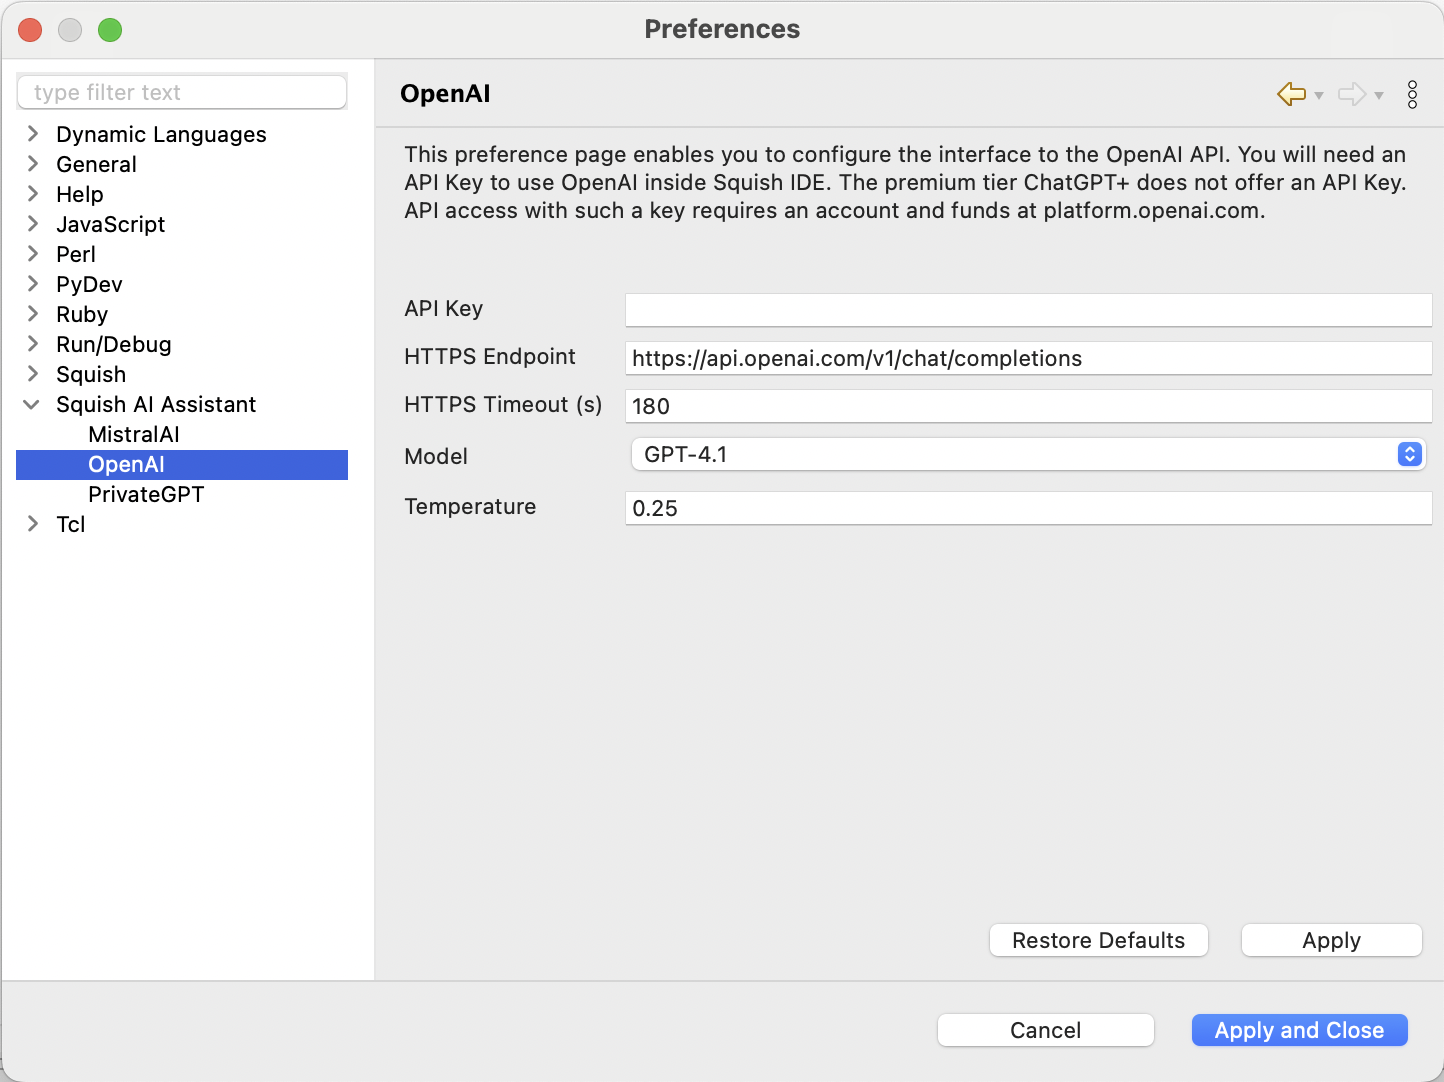
Squish AI Assistant preference for OpenAI
You need to obtain an API Key from OpenAI by going to OpenAI Platform page. OpenAI provides a variety of model options. You can select one of the supported models from the drop-down list.
Paste the API Key you obtained into the API Key field and select the model you would like to use in the Model dropdown. You can usually leave the rest of the settings at their default.
Using a Custom Model
Custom Models can be provided, allowing you to use the AI Assistant with AI servers that host multiple named models.
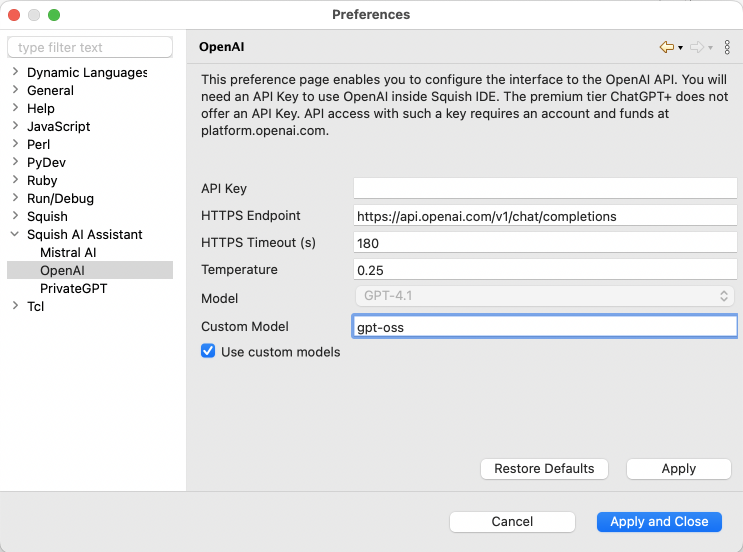
Using a locally hosted custom model
Configuring PrivateGPT
Select the PrivateGPT item below Squish AI Assistant.
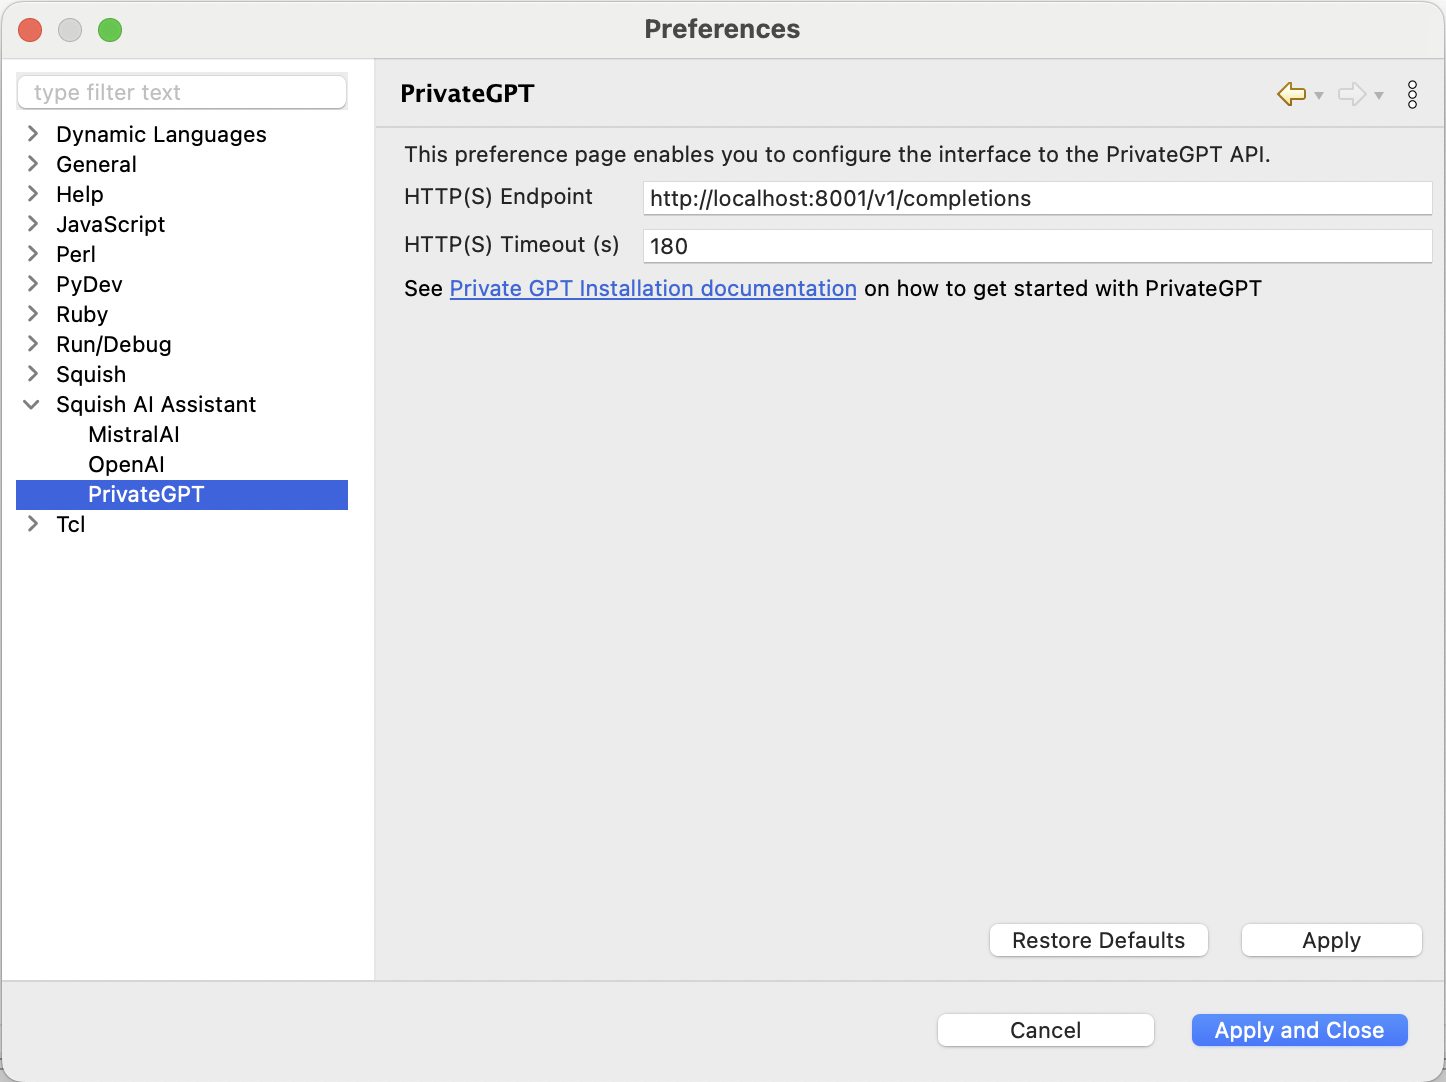
Squish AI Assistant preference for PrivateGPT
To set up a local instance of PrivateGPT with your preferred model, please refer to the PrivateGPT documentation. You can also use an instance accessible via your network.
Once you have an endpoint available where PrivateGPT runs put the endpoint url into the HTTP(S) Endpoint field. You can leave the other fields at their defaults.
Opening the Squish AI Assistant
The Squish AI Assistant is provided as a separate view that can be added to the Squish IDE main window. You can do this using the Squish AI Assistant (![]() ) toolbar button, from the corresponding context menu entry or by selecting Window > Show View > Other... and selecting Squish AI Assistant.
) toolbar button, from the corresponding context menu entry or by selecting Window > Show View > Other... and selecting Squish AI Assistant.
In addition to the view there are several context menus expanded with specialized actions, please refer to the Editor, Test Results view and Runner/Server Log view documentation respectively.
© 2025 The Qt Company Ltd.
Documentation contributions included herein are the copyrights of
their respective owners.
The documentation provided herein is licensed under the terms of the GNU Free Documentation License version 1.3 as published by the Free Software Foundation.
Qt and respective logos are trademarks of The Qt Company Ltd. in Finland and/or other countries worldwide. All other trademarks are property
of their respective owners.
